Conquest
LIVELarge-scale objective warfare across sprawling maps. Capture and hold strategic zones while teams fight for total dominance — built for coordination, vehicles, and sustained combat.
The map is dotted with lettered capture zones. Stand in a zone to flip it to your team; the more zones you hold, the faster the enemy bleeds tickets. Vehicles, squads, and spawn-on-flag rotations make this the flagship large-scale mode.
Hold more capture points than the enemy to drain their reinforcement tickets to zero. The team that runs the other out of tickets — or leads when the clock ends — wins.
The only mode built around vehicles and true territorial control — matches swing on coordinated pushes, not raw aim.
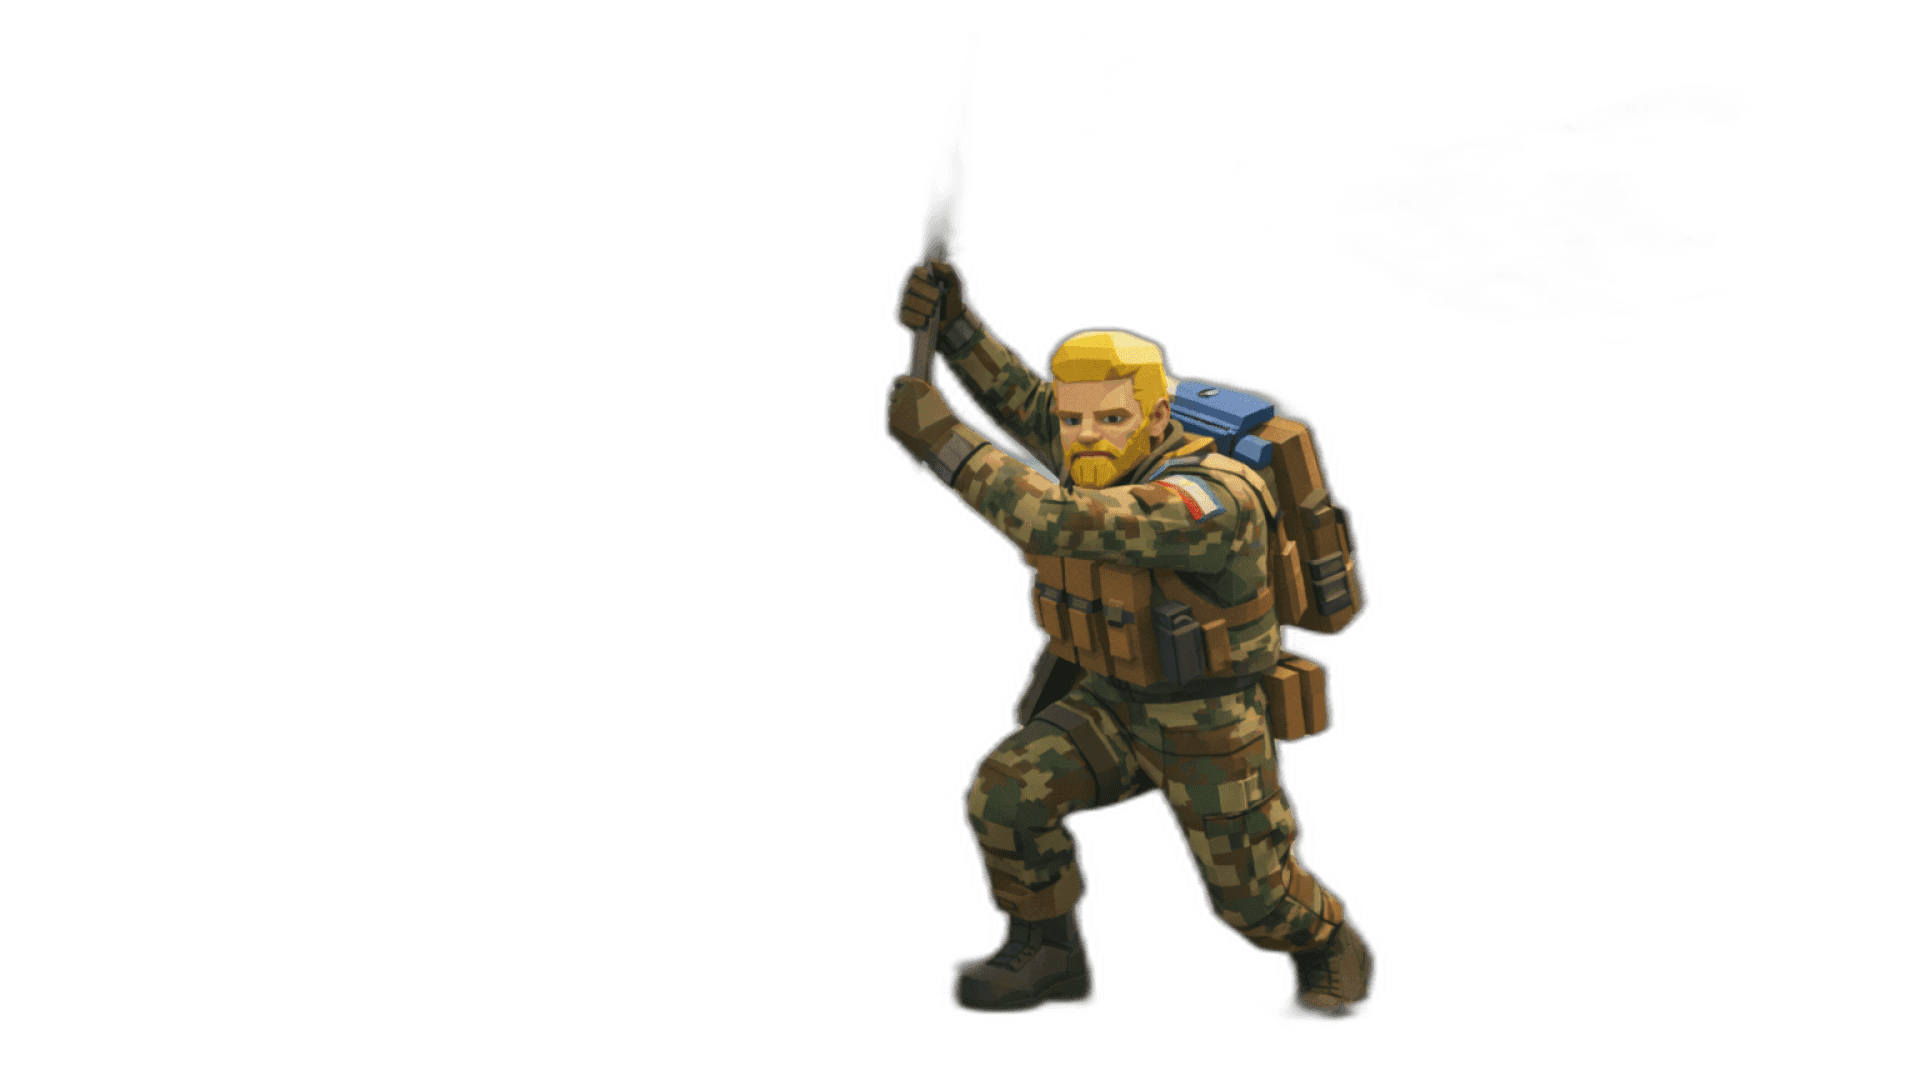
- Don't chase kills — chase the next flag.
- Keep one squad defending a held point while another pushes.
- Use vehicles to move the whole squad, then dismount on the objective.
- Spawn on squadmates near contested zones to keep pressure up.
How to win Conquest
Conquest is won on the map, not the killboard. Hold more zones than the enemy and their tickets bleed — so the whole game is rotation and math. Take the flags that touch the most lanes, hold a defensible cluster rather than chasing every point, and read the ticket difference like a clock. When you're up, deny and stall; when you're down, consolidate onto a hard cluster and force the enemy to overextend to reach you — the bleed reverses the moment they break formation.
- Zone rotation
- Ticket awareness
- Holding multiple sectors
- Coordinated pushes
Scoring & format
Ticket bleed — hold more flags than the enemy to drain their reinforcement tickets to zero.
- Flag capture
- 250
- Hold the flag
- planned
- Flag defend
- planned
- Kill
- 2
- Death
- no penalty
- Headshot bonus
- bonus
- Revive
- planned
- Spot assist
- planned
- Resupply / Repair
- planned
Bigger maps (Penghu, Korea) add vehicle-reachable flags; the center flag is always worth the hardest fight.
- Spawn on your squad, not on base — every squad spawn puts you back in the fight and holds the ground you took.
- Move as a fireteam of two or three; a lone push feeds the enemy, a stacked one breaks a hold.
- Cover the roles — keep a Support for ammo, a Medic for revives, and an Engineer for armor.
- Call the rotation before you take it; a coordinated flank beats a faster solo run every time.
Ticket bleed — hold more flags than the enemy to drain their reinforcement tickets to zero.
When you fall behind: stop trading in the open. Consolidate onto a defensible cluster of objectives, deny the easy points, and make the enemy overextend to reach you — the bleed reverses when they break formation.
Conquest, map by map
How Conquest actually plays on each map that runs it — the objective layout, the flow of a round, and the pointers that decide it.
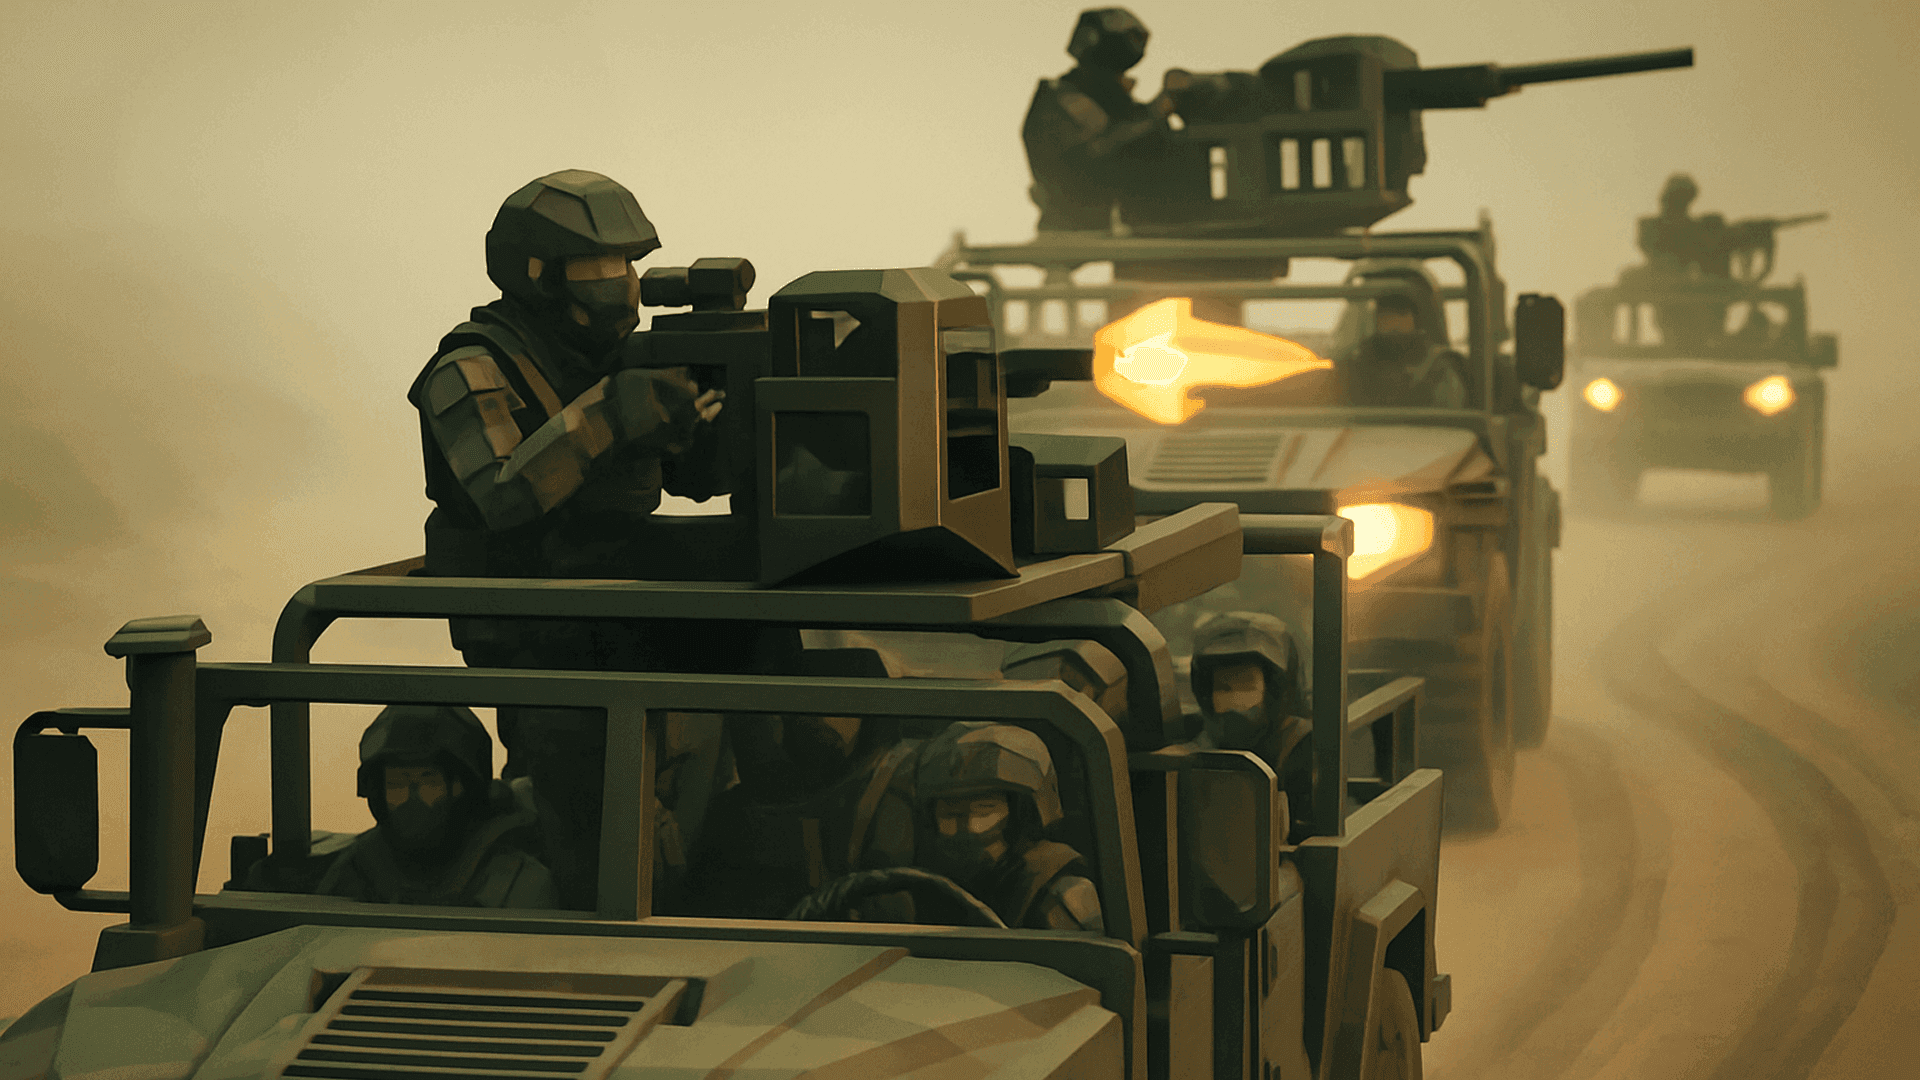 Taiwan BeachMap guide
 Five points strung along the coast: Beach (A), Boardwalk (B), Shipyard (C), Warehouses (D), Seawall (E). C is the map's heart.
Both teams sprint the flanks for A/E, then the match lives or dies on who owns the Shipyard cranes in the middle.
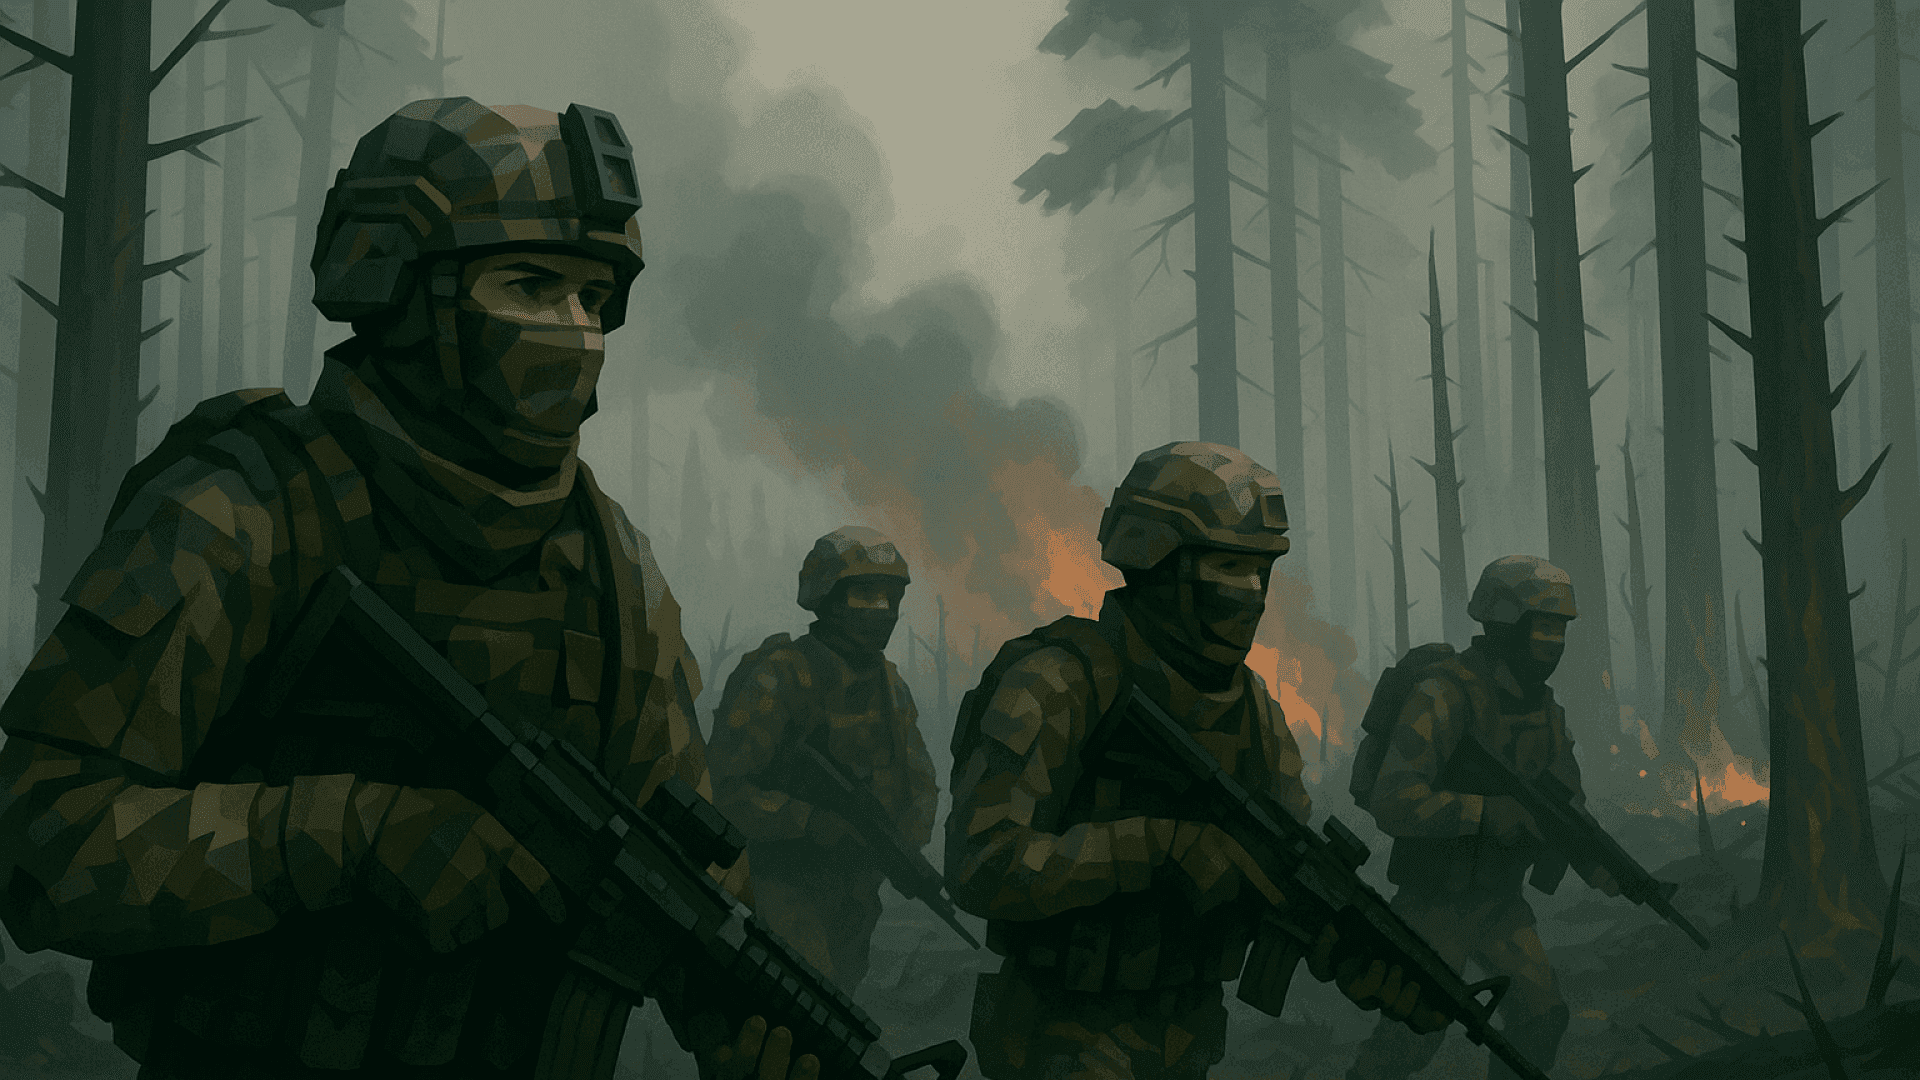 Donbas WoodsMap guide
 Points spread through the treeline: Farmhouse (A), Crossing (B), Bunkers (C), Trench (D), Ridge (E). Cover between them is dense.
Early skirmishes over B/C in the woods, then armor arrives and the open field crossings become the choke.
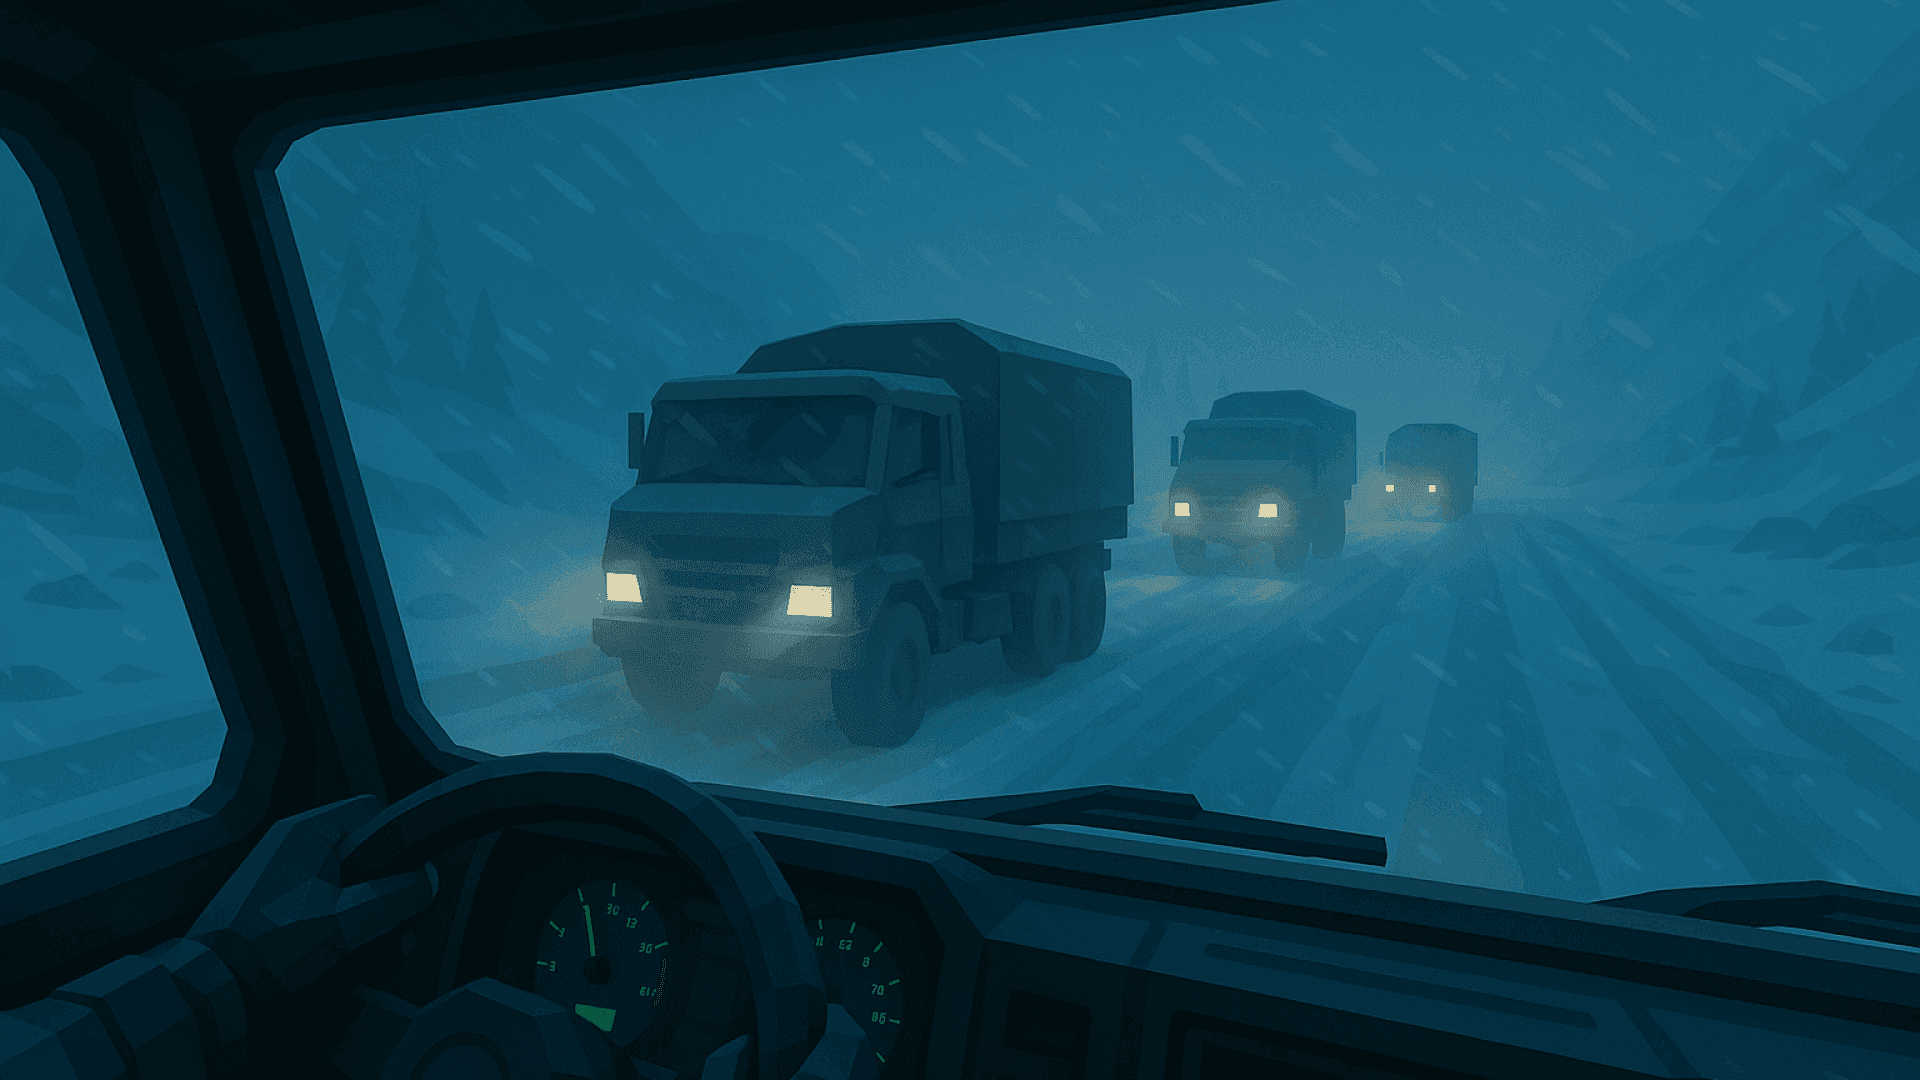 Canadian ArcticMap guide
 Points along the frozen valley: Chalets (A), Bridge (B), Cable Station (C), Ridge (D), Depot (E). Snow kills visibility at range.
Long opening rotations across open snow, then fights settle around the chalets and cable station cover.
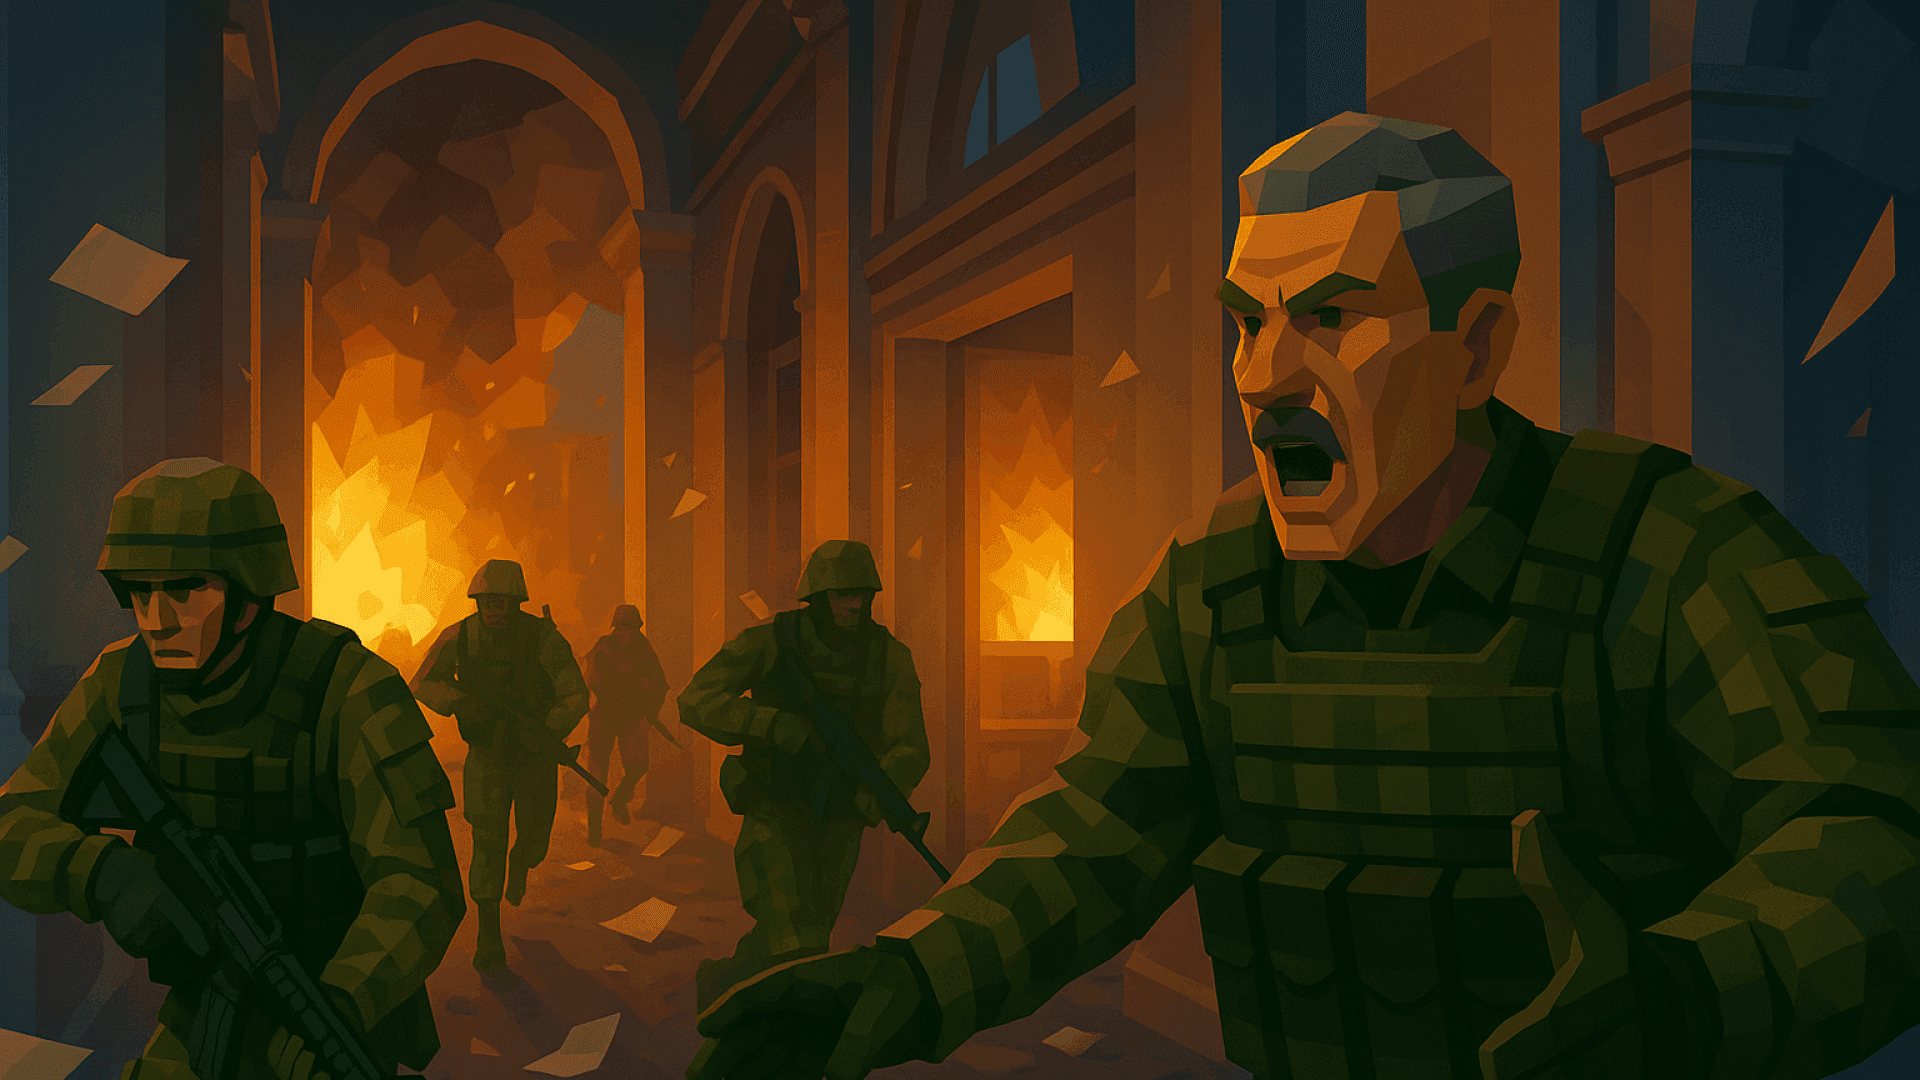 Odesa PortMap guide
 Night port points: Dock Ramp (A), Container Yard (B), Crane Gantry (C), Warehouse (D), Quay (E). Container cover everywhere.
Engineers and disciplined pushes grind through the container maze while the crane gantry trades hands.
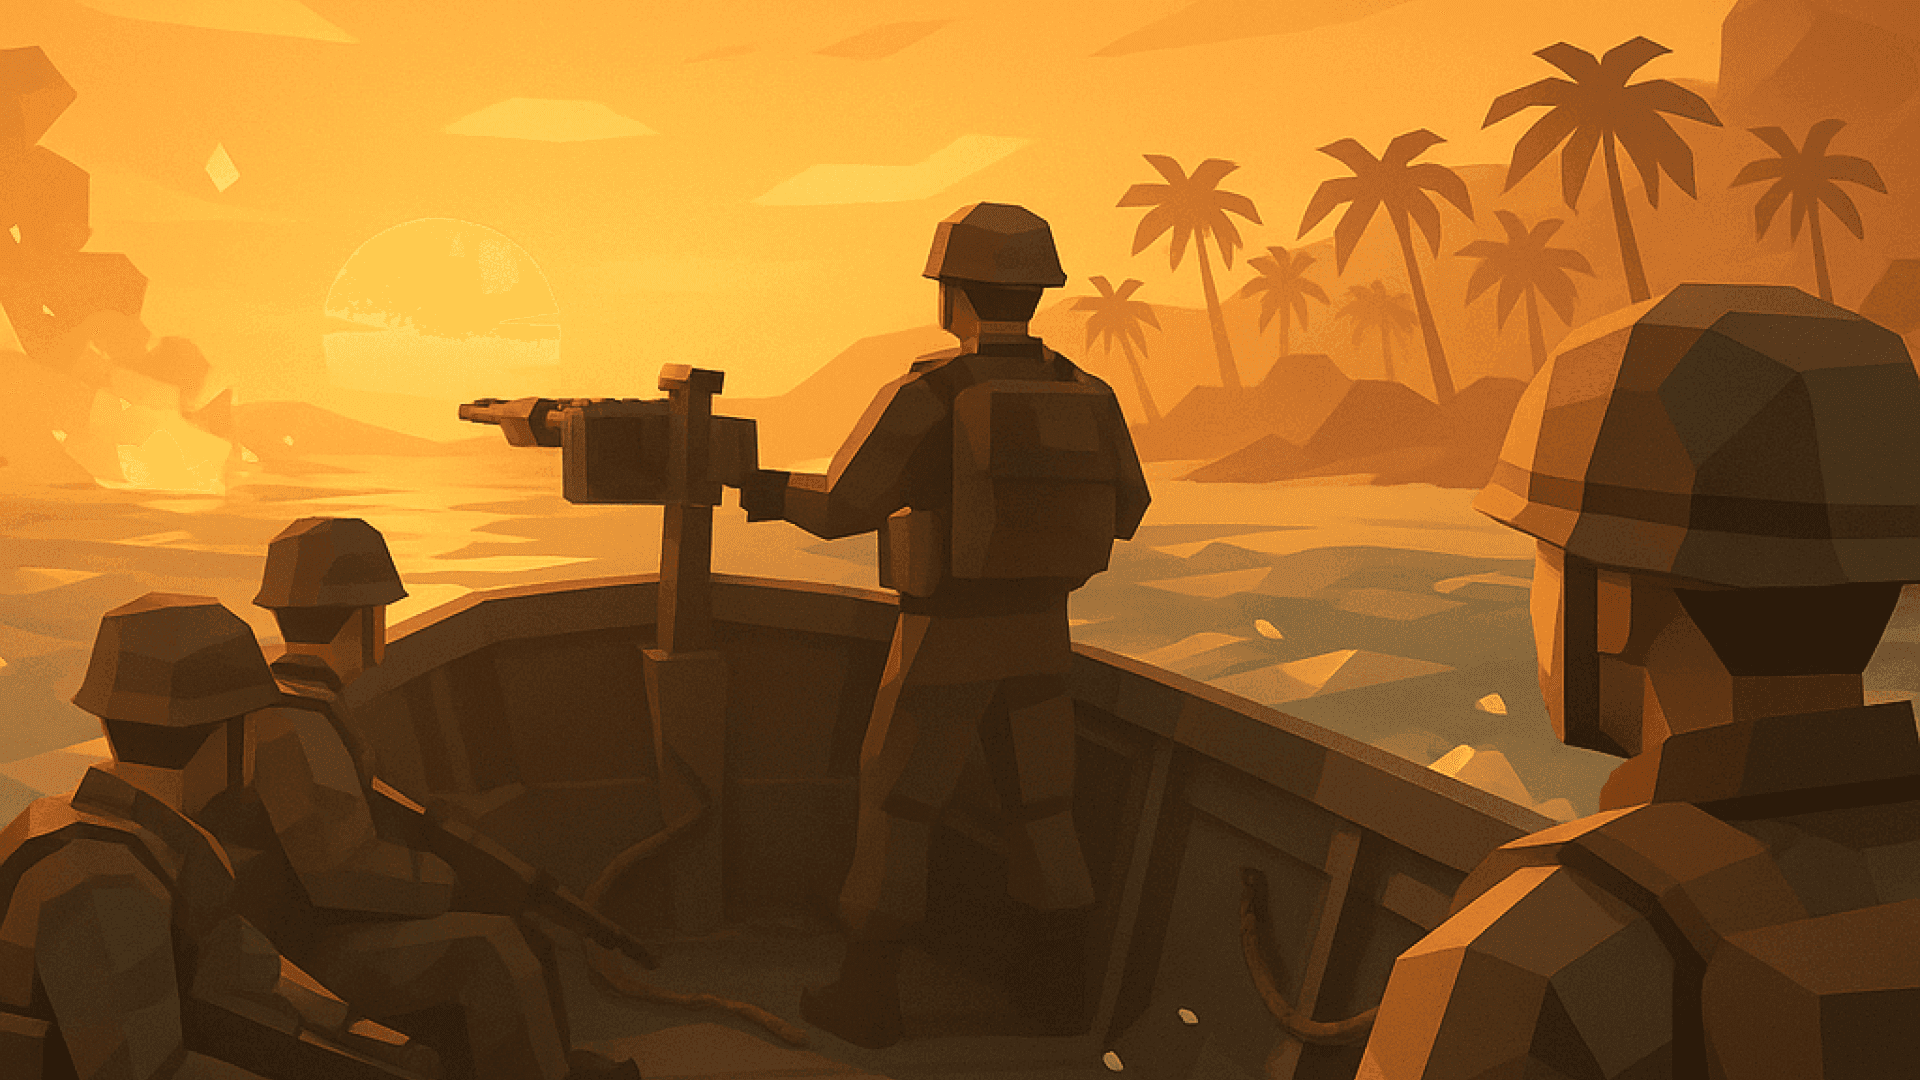 Penghu IslandsMap guide
 Points across islands and water: Harbor (A), Village (B), Temple (C), Ridge (D), Sea Wall (E). Long water gaps between them.
Boats and flankers contest the outer islands while the village square trades in tight alleys.
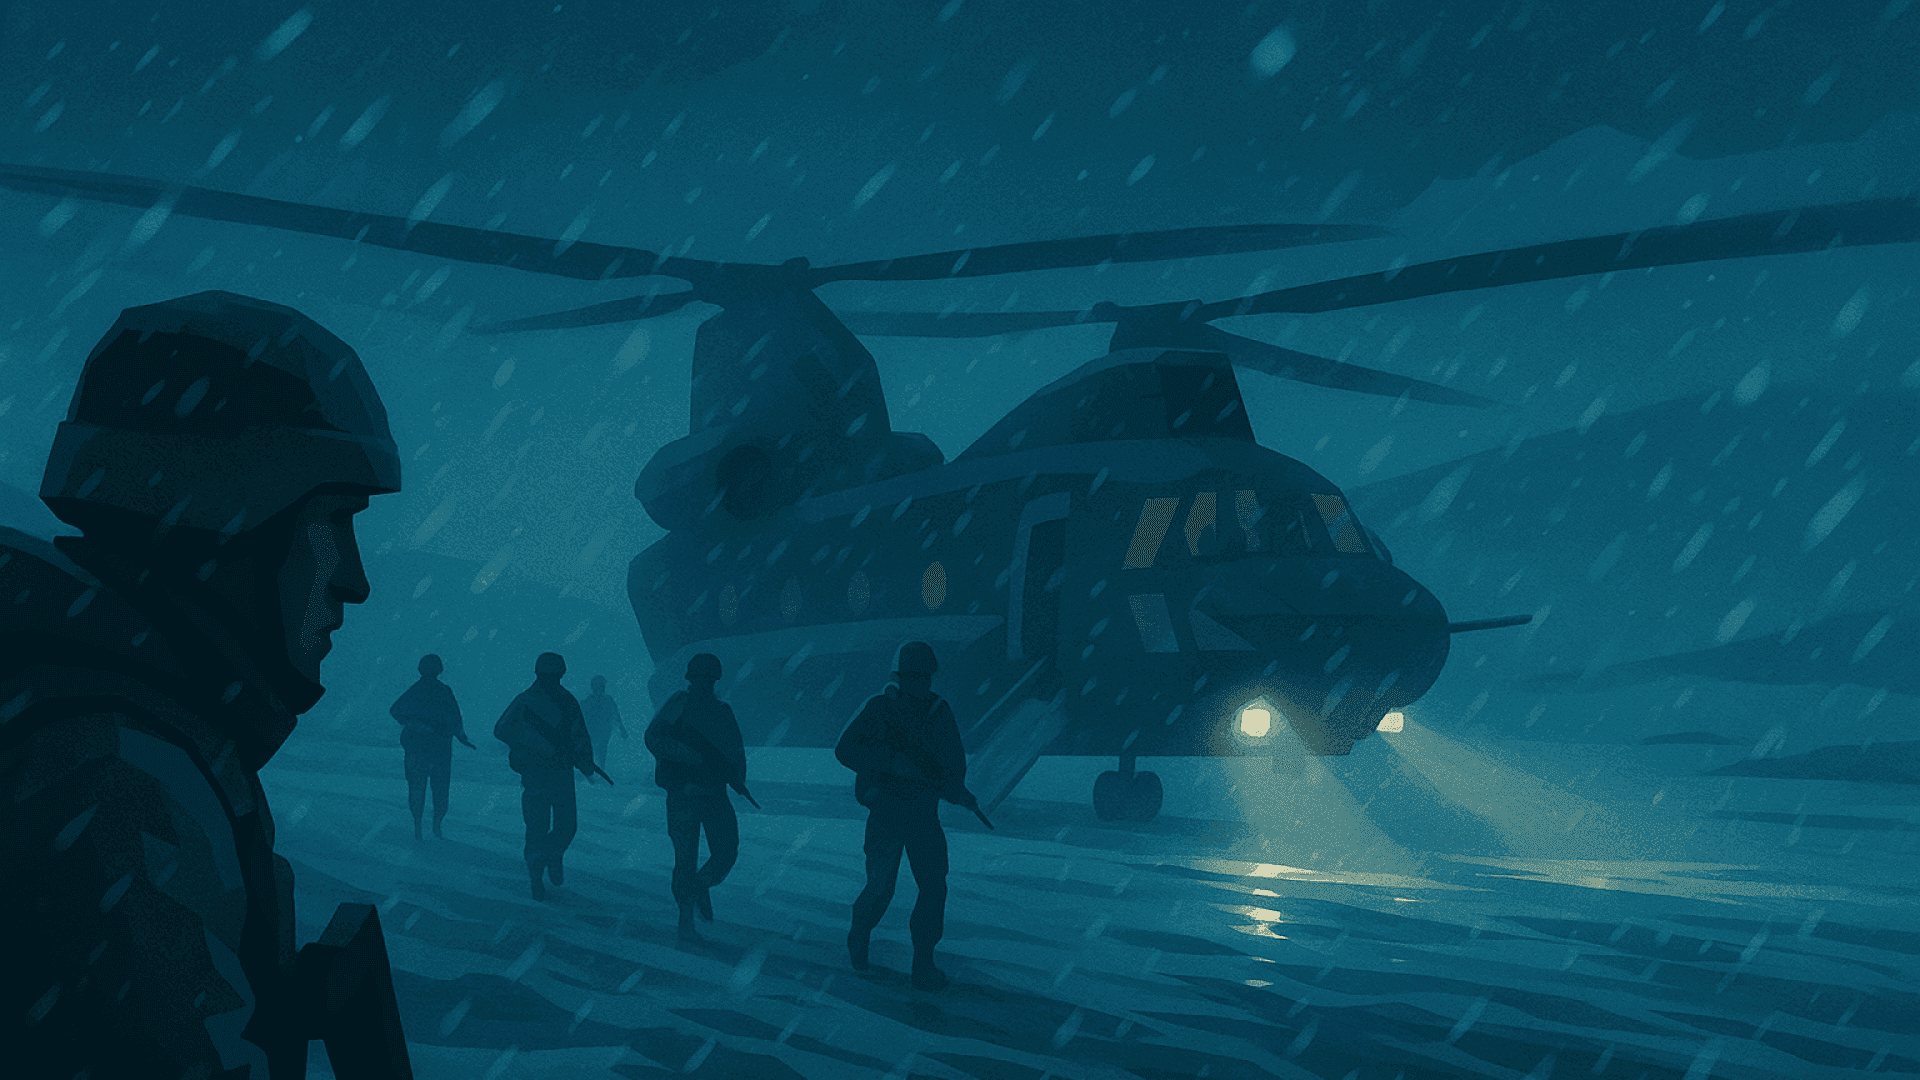 Finnish Ski ResortMap guide
 Points up the mountain: Cable Base (A), Chalet Row (B), Lift Ramp (C), Lodge (D), Summit (E). Long snowy sightlines throughout.
Recon overwatch dictates the open pistes while the chalets and lodge trade in close quarters.
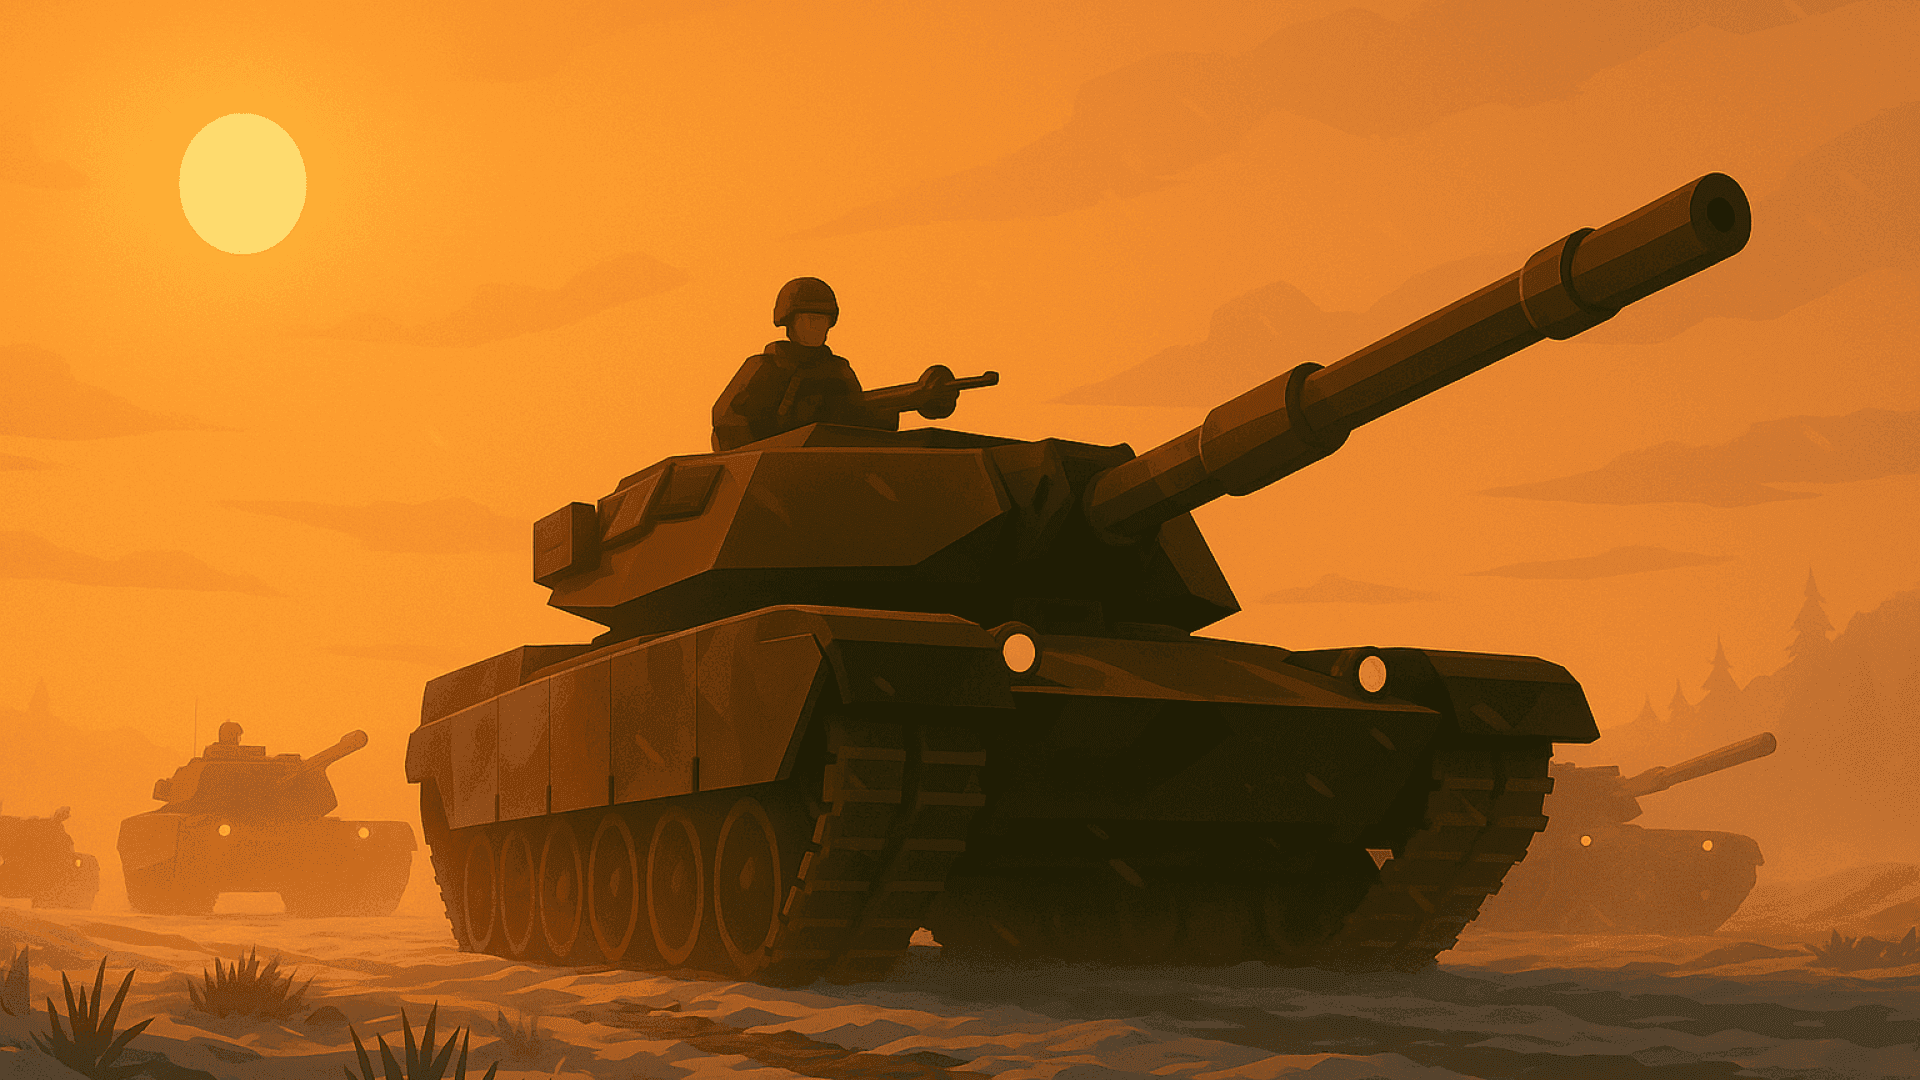 Korean BorderMap guide
 DMZ points: Border Gate (A), Watchtower (B), Tunnel Mouth (C), Barracks (D), Overlook (E). No-man's-land splits the map.
Tower angles and tunnel control decide momentum; the open DMZ punishes anyone crossing it dry.
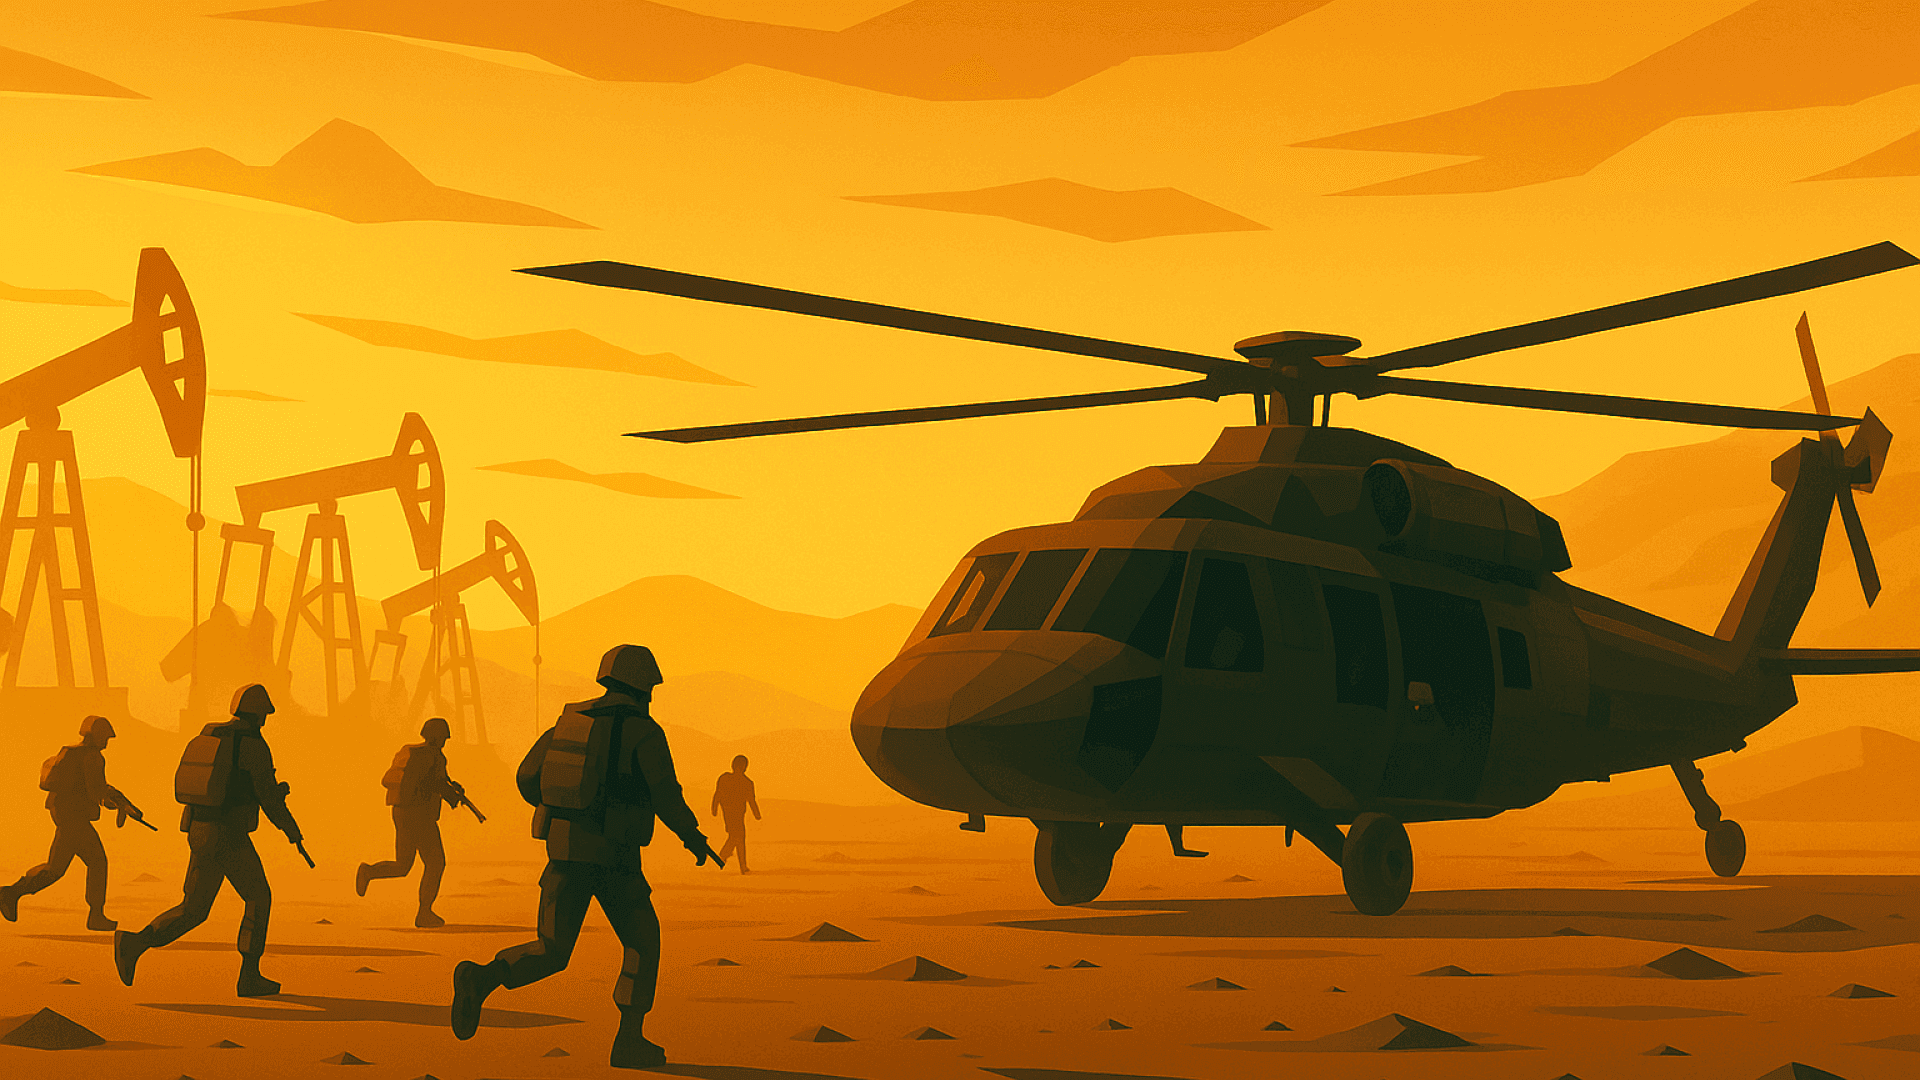 Iran / DustedMap guide
 Village points: Market (A), Courtyard (B), Well Square (C), Compound (D), Wadi Edge (E). Dust cuts long sightlines.
Compounds trade in close quarters while rooftops contest the open ground between.
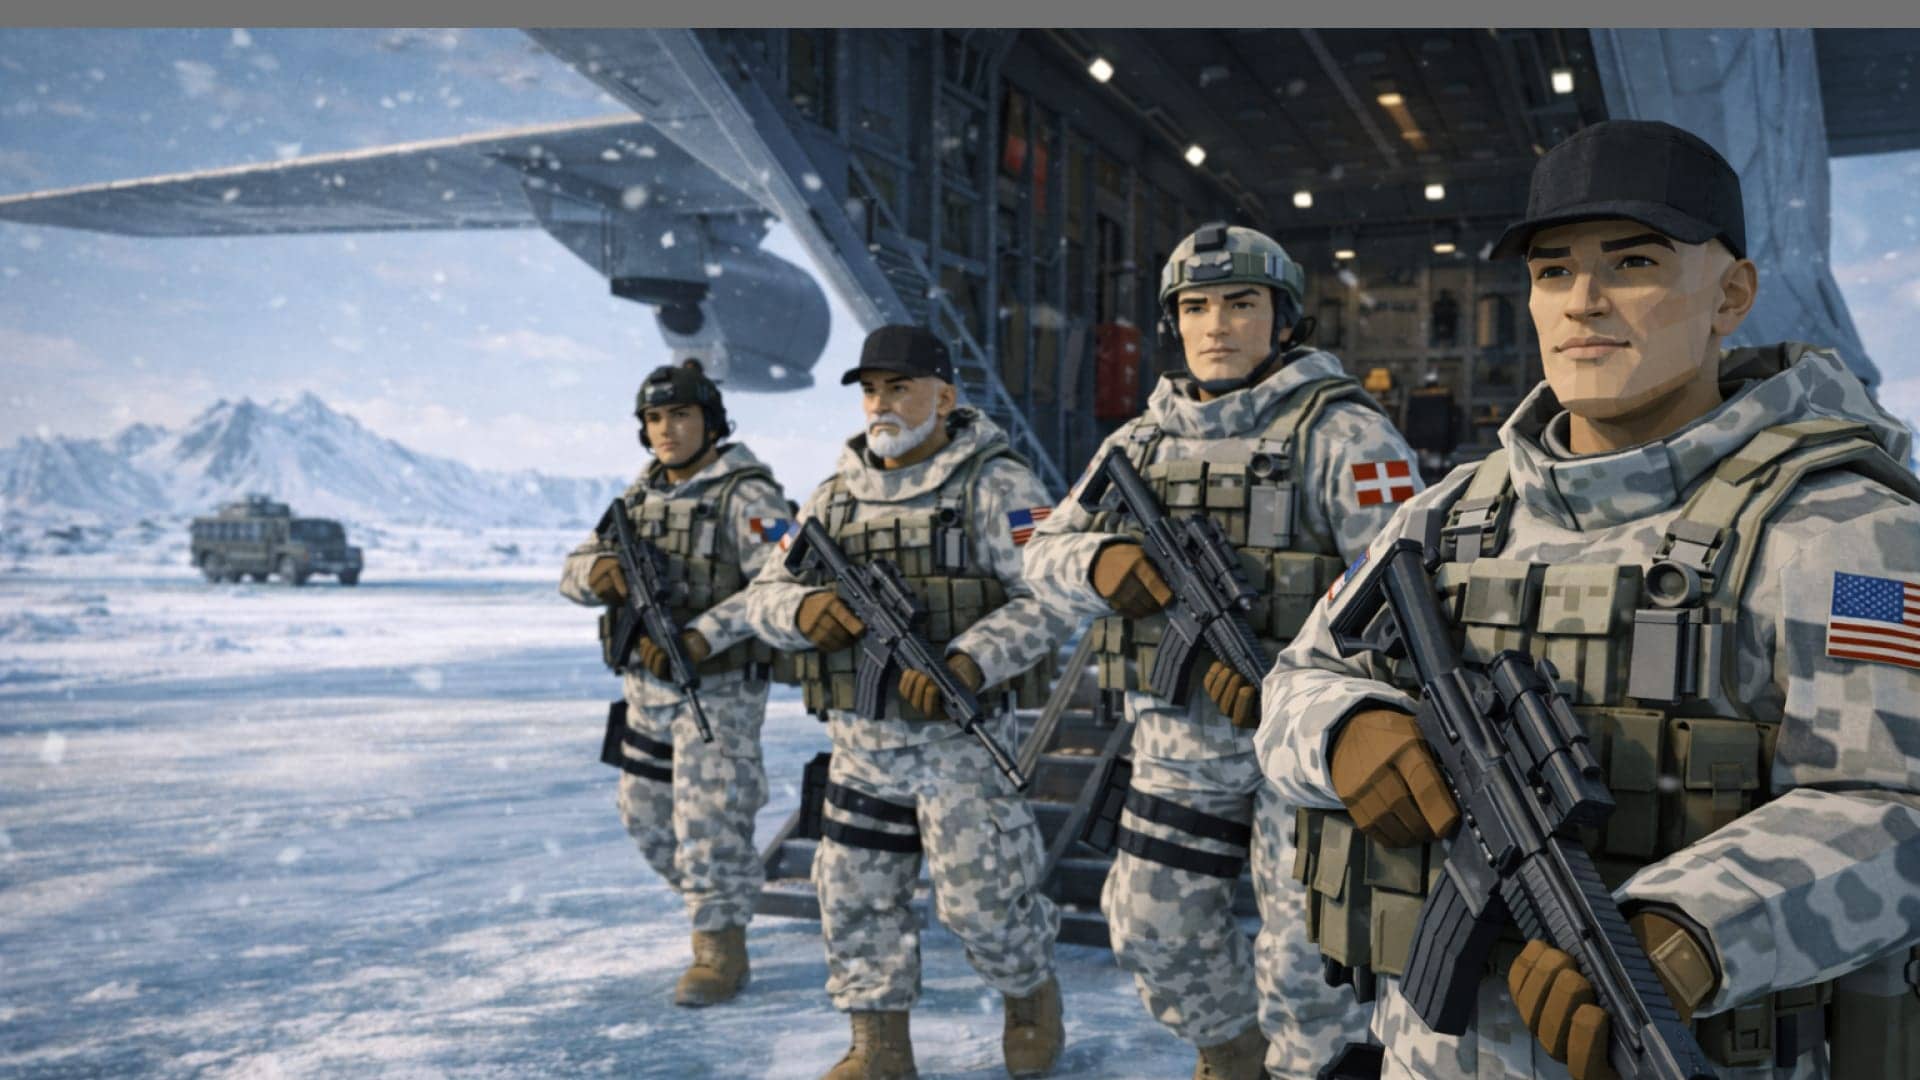 GreenlandMap guide
 Ice-shelf points: Airlock (A), Ice Bridge (B), Fuel Depot (C), Antenna (D), Shelf Edge (E). Whiteout cuts visibility.
Long approaches under whiteout skies; Recon overwatch and coordinated timing decide the open crossings.
Ask an operator
Leon Marek Kaminski runs Conquest. Ask how to play it, what to watch for, or how to win.