

Breakthrough
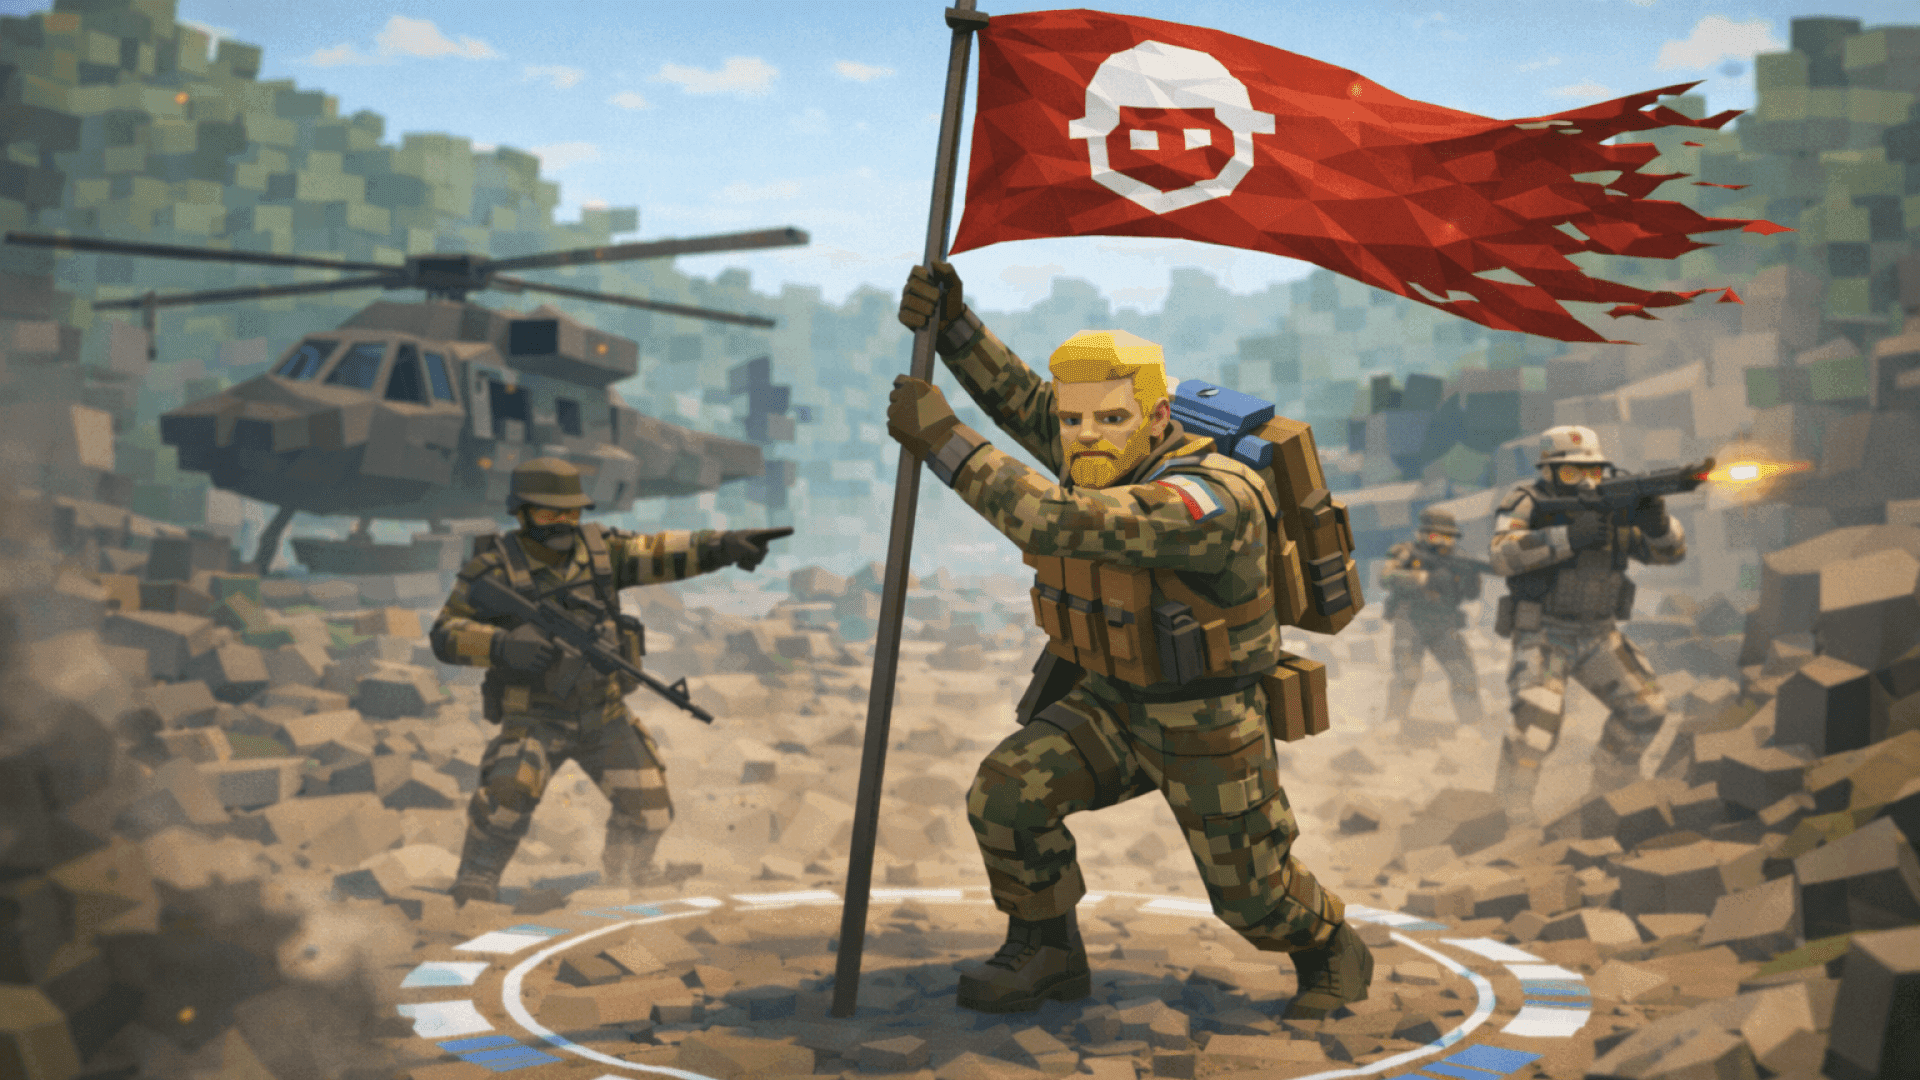
LIVEAttackers push forward sector by sector while defenders hold the line. Momentum, coordination, and smart positioning decide victory.
The map is divided into sequential sectors. Attackers must take them in order while defenders fall back and dig in. Each captured sector shifts the front forward — a tug-of-war of momentum and attrition.
Attackers win by capturing every sector before reinforcements run out; defenders win by holding the line until the attack stalls.
Asymmetric attack-and-defend with a moving front line — the pressure and pacing flip completely depending on which side you're on.
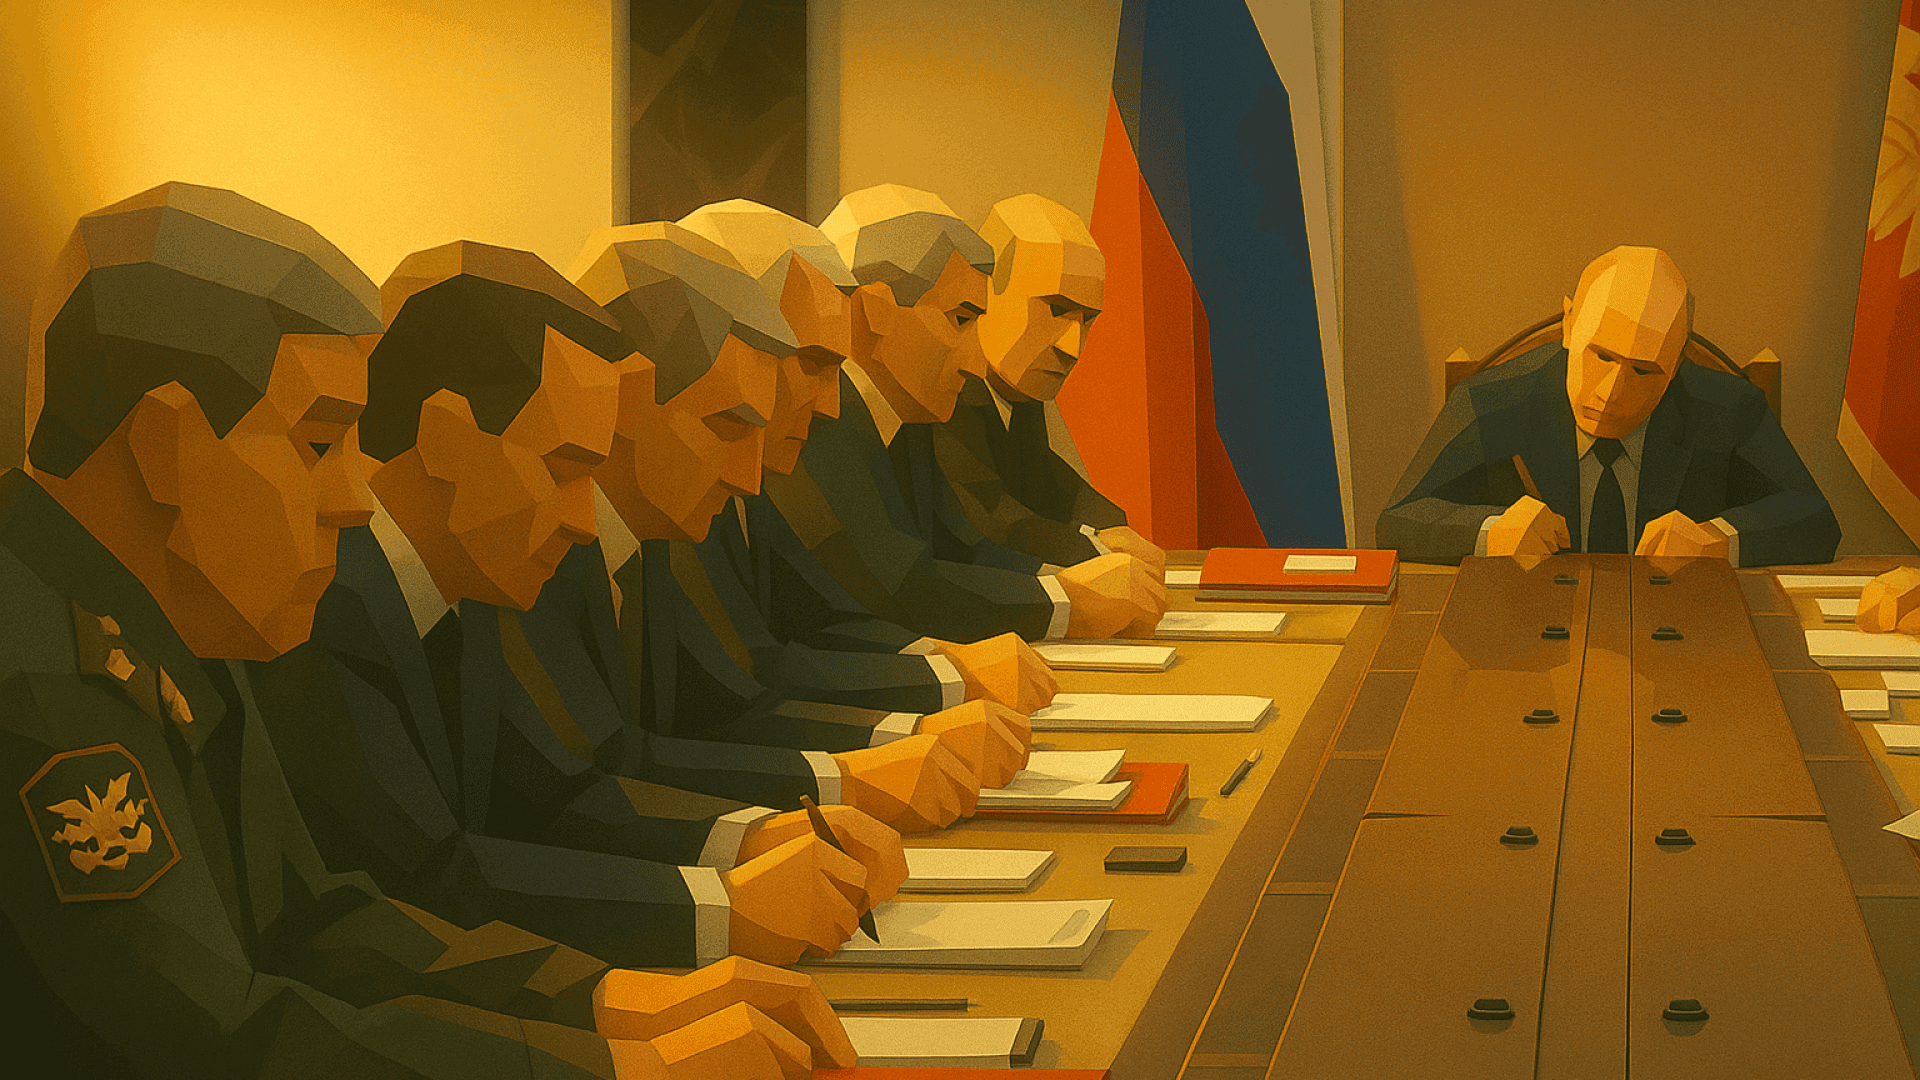
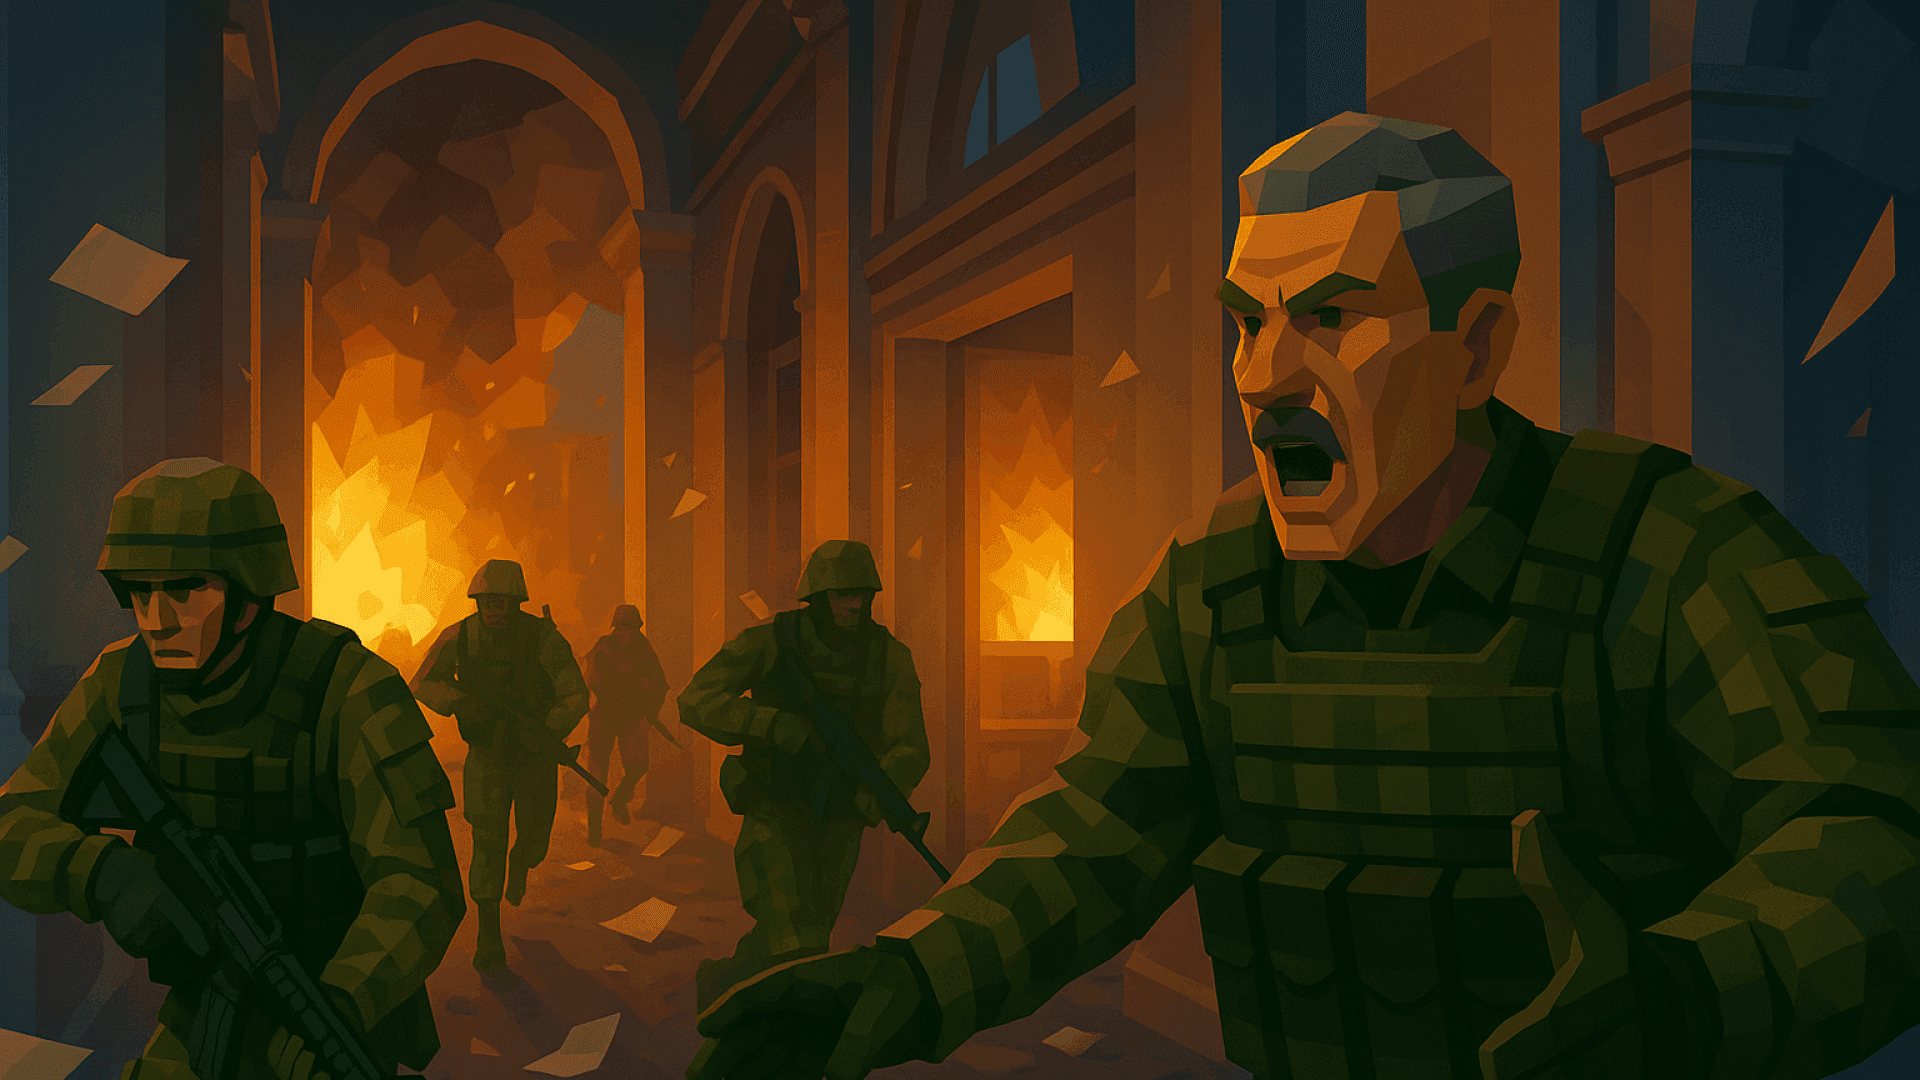
- Attackers: push together in a wave, not one at a time.
- Defenders: trade space for time, don't overcommit forward.
- Smoke covers the last few meters onto an objective.
- Engineers should fortify the next fallback before it's needed.
How to win Breakthrough
Breakthrough is a sector-by-sector grind — attackers spend a shared pool to take ground, defenders hold to exhaust it. Attackers win by massing on one point together, smoking the approach, and taking the sector as a wave rather than a trickle. Defenders win by funnelling the push into a chokepoint and holding the overwatch that stalls it. Momentum is everything: the team that breaks the wall sector usually takes the map.
- Sector control
- Chokepoint management
- Defensive setup
- Coordinated pushes
Scoring & format
Attackers spend a shared reinforcement pool sector by sector; defenders hold the line to exhaust it.
- Sector capture
- planned
- Sector defend
- planned
- Kill
- 10
- Death
- −6.667
- Headshot bonus
- bonus
- Revive
- planned
- Spot assist
- planned
- Resupply / Repair
- planned
The Donbas bunkers and Korean tunnels are the classic wall sectors that stall a push.
- Spawn on your squad, not on base — every squad spawn puts you back in the fight and holds the ground you took.
- Move as a fireteam of two or three; a lone push feeds the enemy, a stacked one breaks a hold.
- Cover the roles — keep a Support for ammo, a Medic for revives, and an Engineer for armor.
- Call the rotation before you take it; a coordinated flank beats a faster solo run every time.
Attackers spend a shared reinforcement pool sector by sector; defenders hold the line to exhaust it.
When you fall behind: stop trading in the open. Consolidate onto a defensible cluster of objectives, deny the easy points, and make the enemy overextend to reach you — the bleed reverses when they break formation.
Breakthrough, map by map
How Breakthrough actually plays on each map that runs it — the objective layout, the flow of a round, and the pointers that decide it.
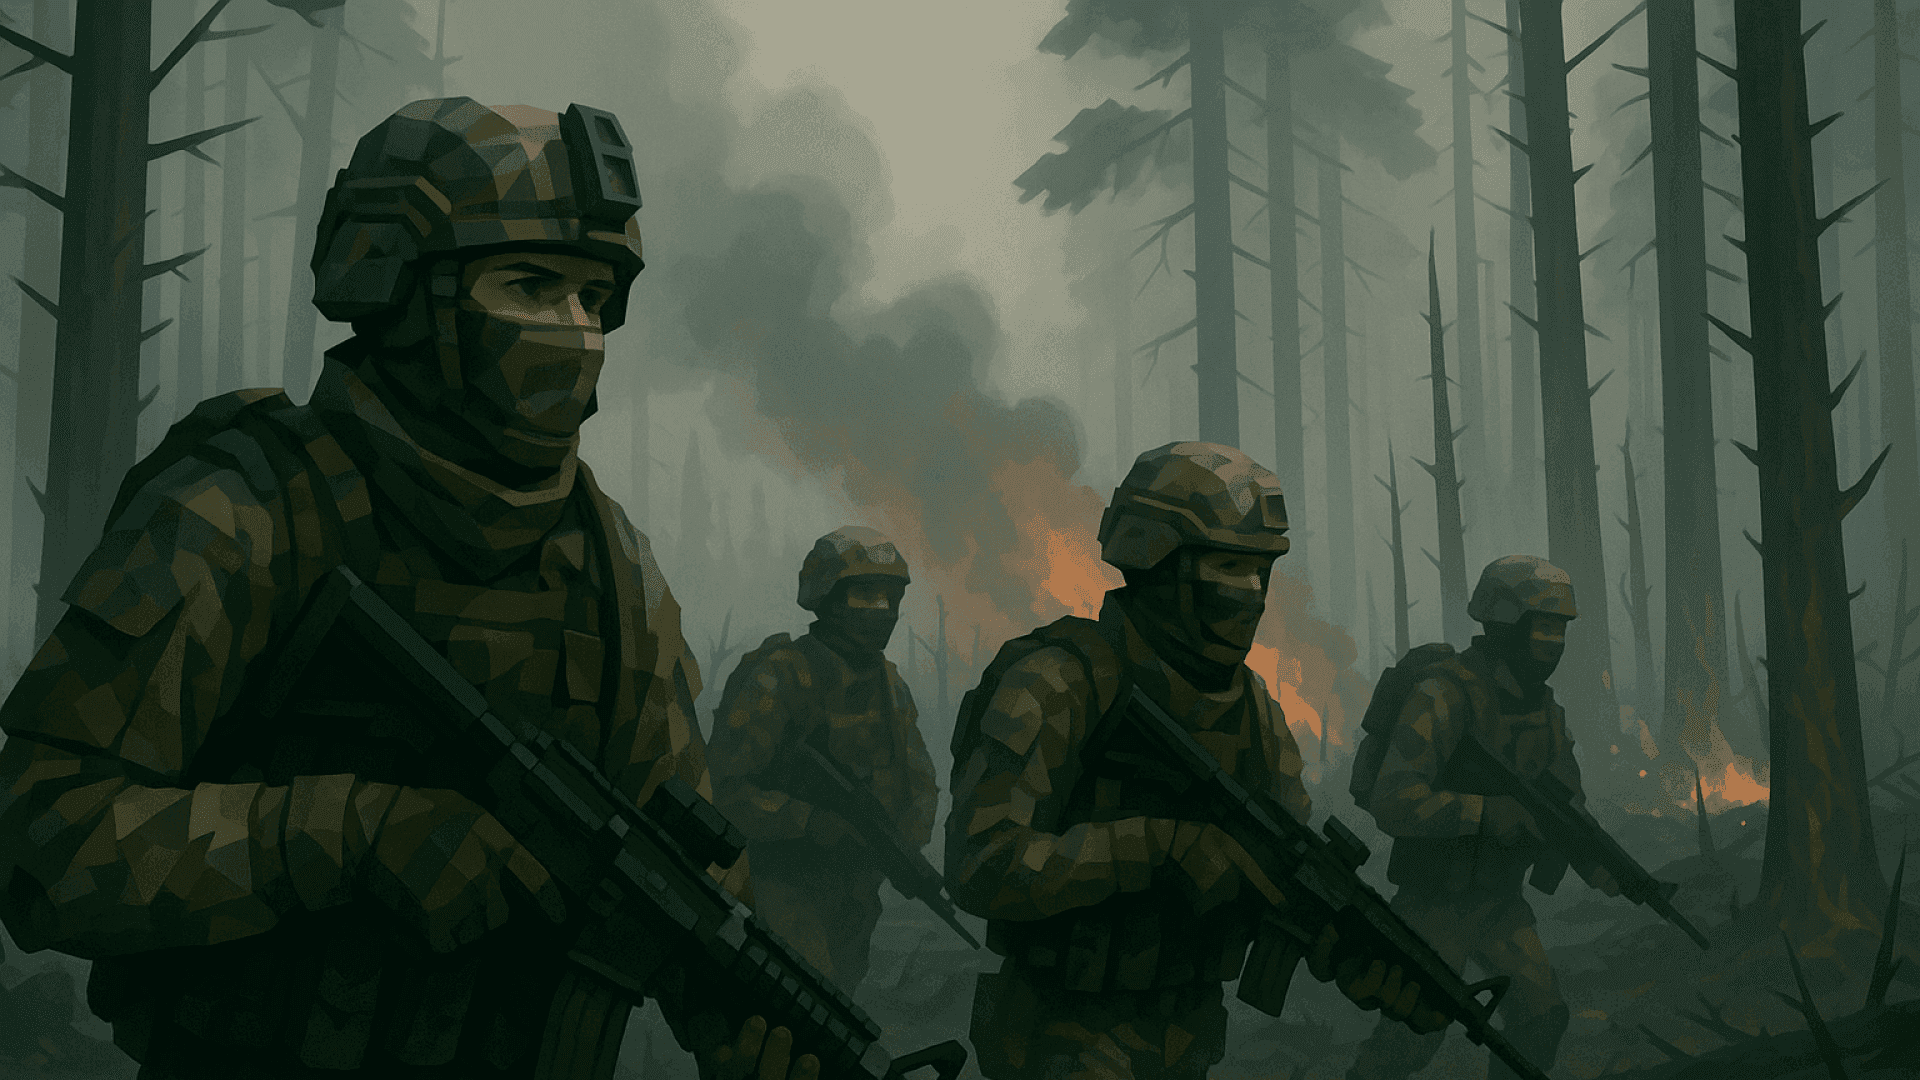 Donbas WoodsMap guide
 Attackers push west-to-east sector by sector: farmhouse → crossing → bunkers. Defenders funnel them into the treeline.
Momentum stalls hard at the bunker sector; whoever breaks that lane usually takes the map.
 Penghu IslandsMap guide
 Attackers island-hop inward: harbor → village → temple. Defenders hold the water crossings.
Each water gap is a defended choke; the temple sector is the last, hardest hold.
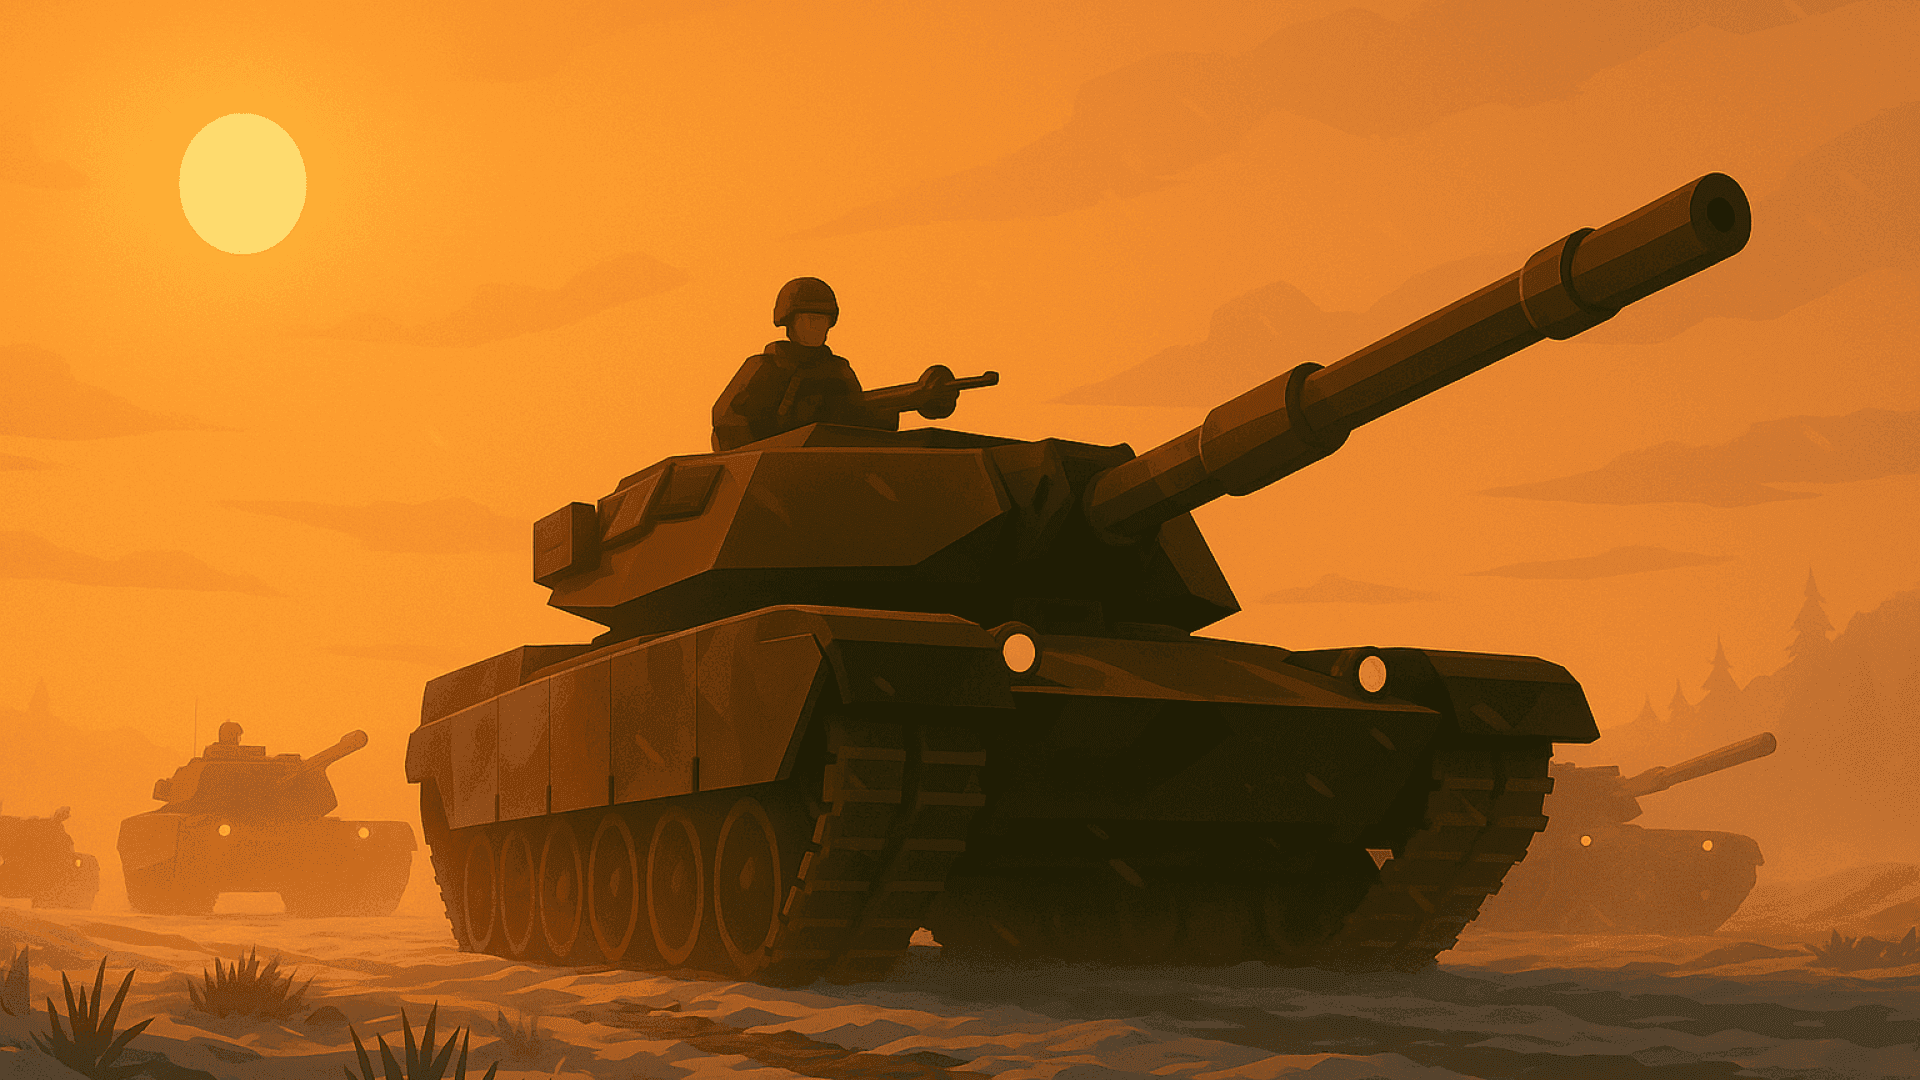 Korean BorderMap guide
 Attackers push across the border sector by sector: gate → towers → tunnels. Defenders hold the DMZ.
The tunnel sector is the wall; break it and the map opens up.
Ask an operator
Marcus Vale runs Breakthrough. Ask how to play it, what to watch for, or how to win.