
Kill Confirmed
LIVEKills only count once confirmed. Eliminate enemies, collect their dropped dog tags, and deny the enemy theirs.
Every elimination drops a dog tag. Collect enemy tags to confirm the kill and score; collect friendly tags to deny the enemy their points. The fight for the tags is as important as the fight for the kills.
Reach the tag limit first. Kills only score when you collect the dropped dog tag — and you can deny enemy kills by grabbing your teammates' tags.
A TDM twist where the kill isn't enough — the ground fight over tags creates constant, contested skirmishes.
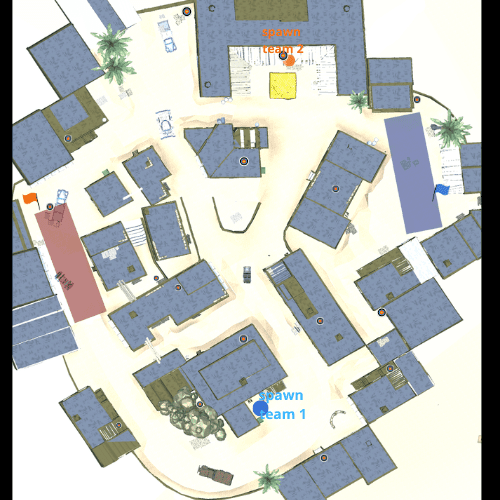
- Confirm your kills — an uncollected tag is a wasted kill.
- Bait enemies into pushing exposed tags, then punish.
- Deny friendly tags when you're ahead to stall them.
- Play the tag, not the kill feed.
How to win Kill Confirmed
In Kill Confirmed a body becomes a point only when someone grabs the tag — so the fight is over the ground where they fall as much as the kill itself. Deny enemy tags from cover before you rush your own, bait pickups in contested zones and punish them, and treat every downed enemy as a decision. Open maps turn into tag-denial standoffs; tight maps let you confirm in a rush. Control the tag cluster and you control the score.
- Confirming kills
- Denying enemy tags
- Controlling the tag zones
Scoring & format
Kills only count when you collect the dropped dog tag; deny the enemy theirs to score.
- Kill
- 10
- Confirm (collect tag)
- planned
- Deny (enemy tag)
- planned
- Kill
- 10
- Death
- −6.667
- Headshot bonus
- bonus
- Revive
- planned
- Spot assist
- planned
- Resupply / Repair
- planned
Open maps create tag-denial standoffs; tight maps like Odesa speed the confirms up.
- Spawn on your squad, not on base — every squad spawn puts you back in the fight and holds the ground you took.
- Move as a fireteam of two or three; a lone push feeds the enemy, a stacked one breaks a hold.
- Cover the roles — keep a Support for ammo, a Medic for revives, and an Engineer for armor.
- Call the rotation before you take it; a coordinated flank beats a faster solo run every time.
Kills only count when you collect the dropped dog tag; deny the enemy theirs to score.
When you fall behind: stop trading in the open. Consolidate onto a defensible cluster of objectives, deny the easy points, and make the enemy overextend to reach you — the bleed reverses when they break formation.
Kill Confirmed, map by map
How Kill Confirmed actually plays on each map that runs it — the objective layout, the flow of a round, and the pointers that decide it.
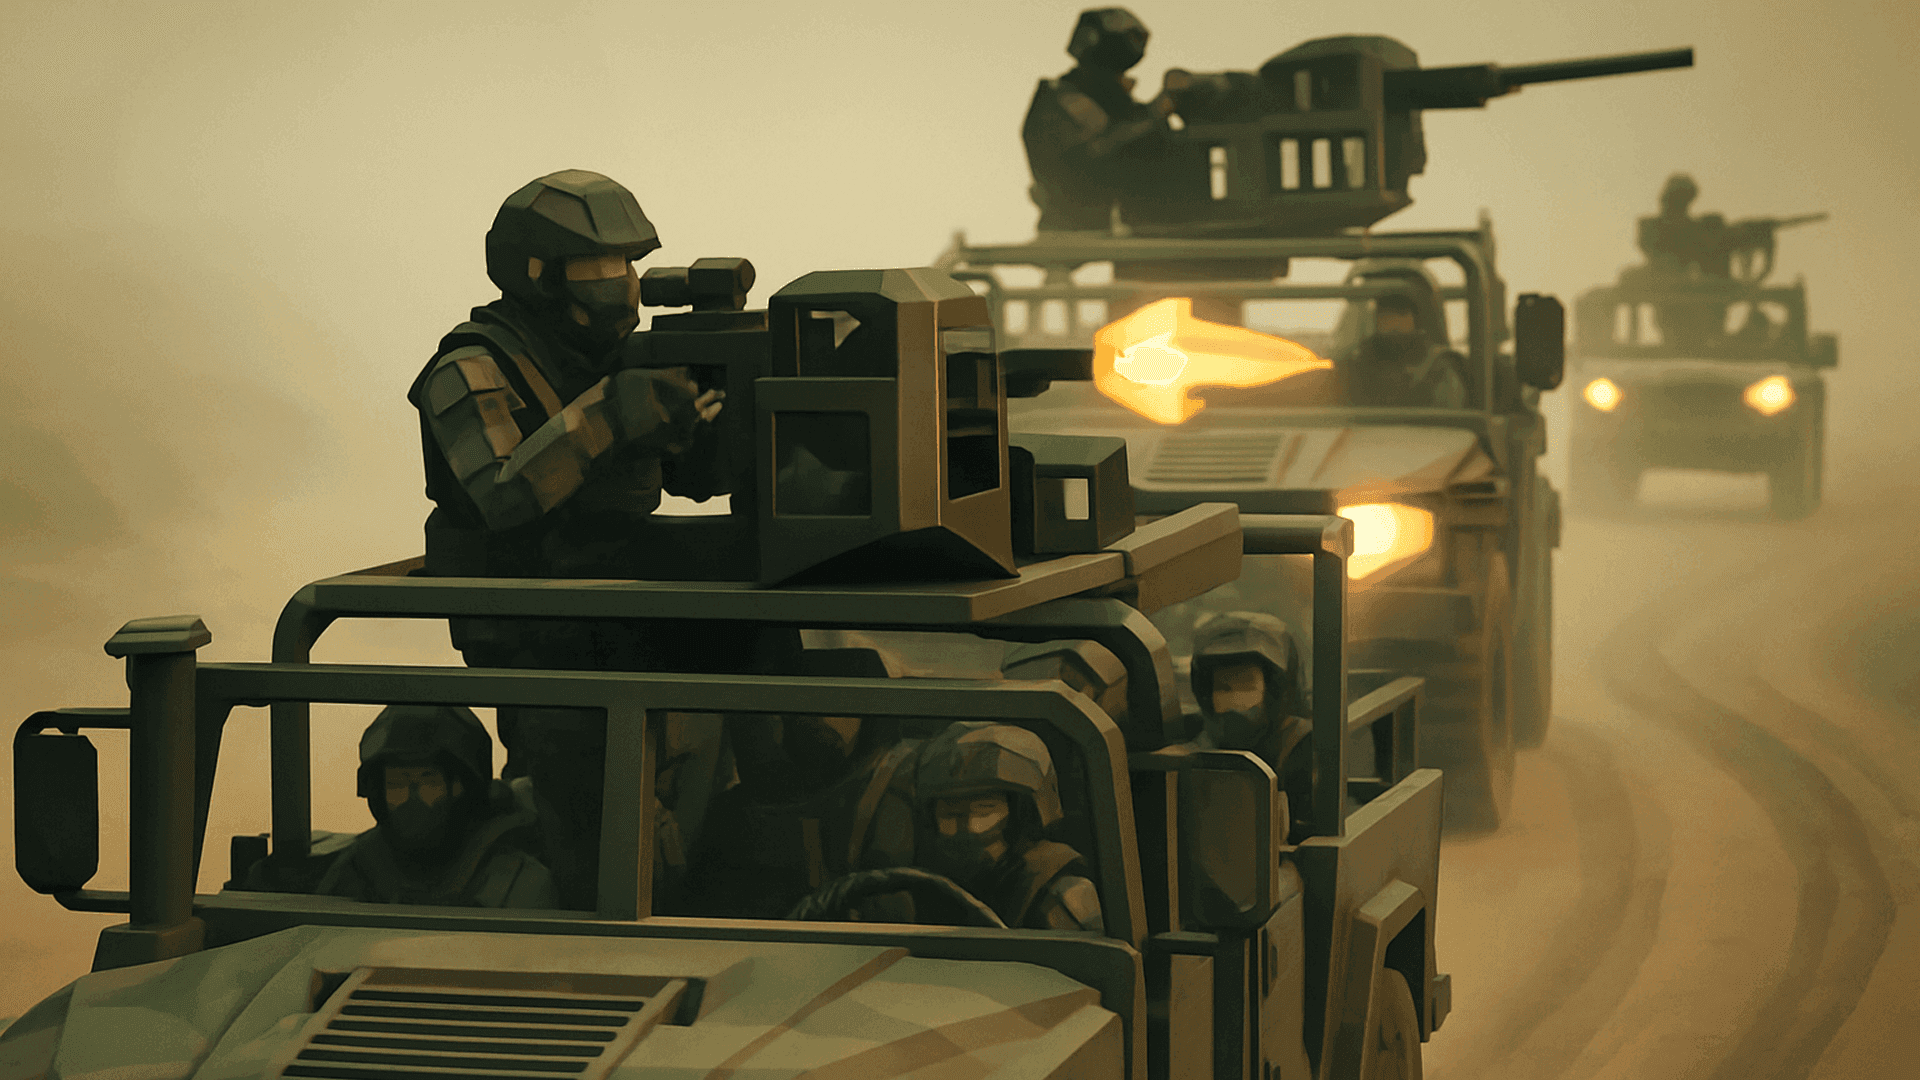 Taiwan BeachMap guide
 Same footprint as TDM, but tags drop where players fall — the boardwalk and pier become tag-denial zones.
Fights stall over contested tags in the open; smart squads bait the pickup and punish.
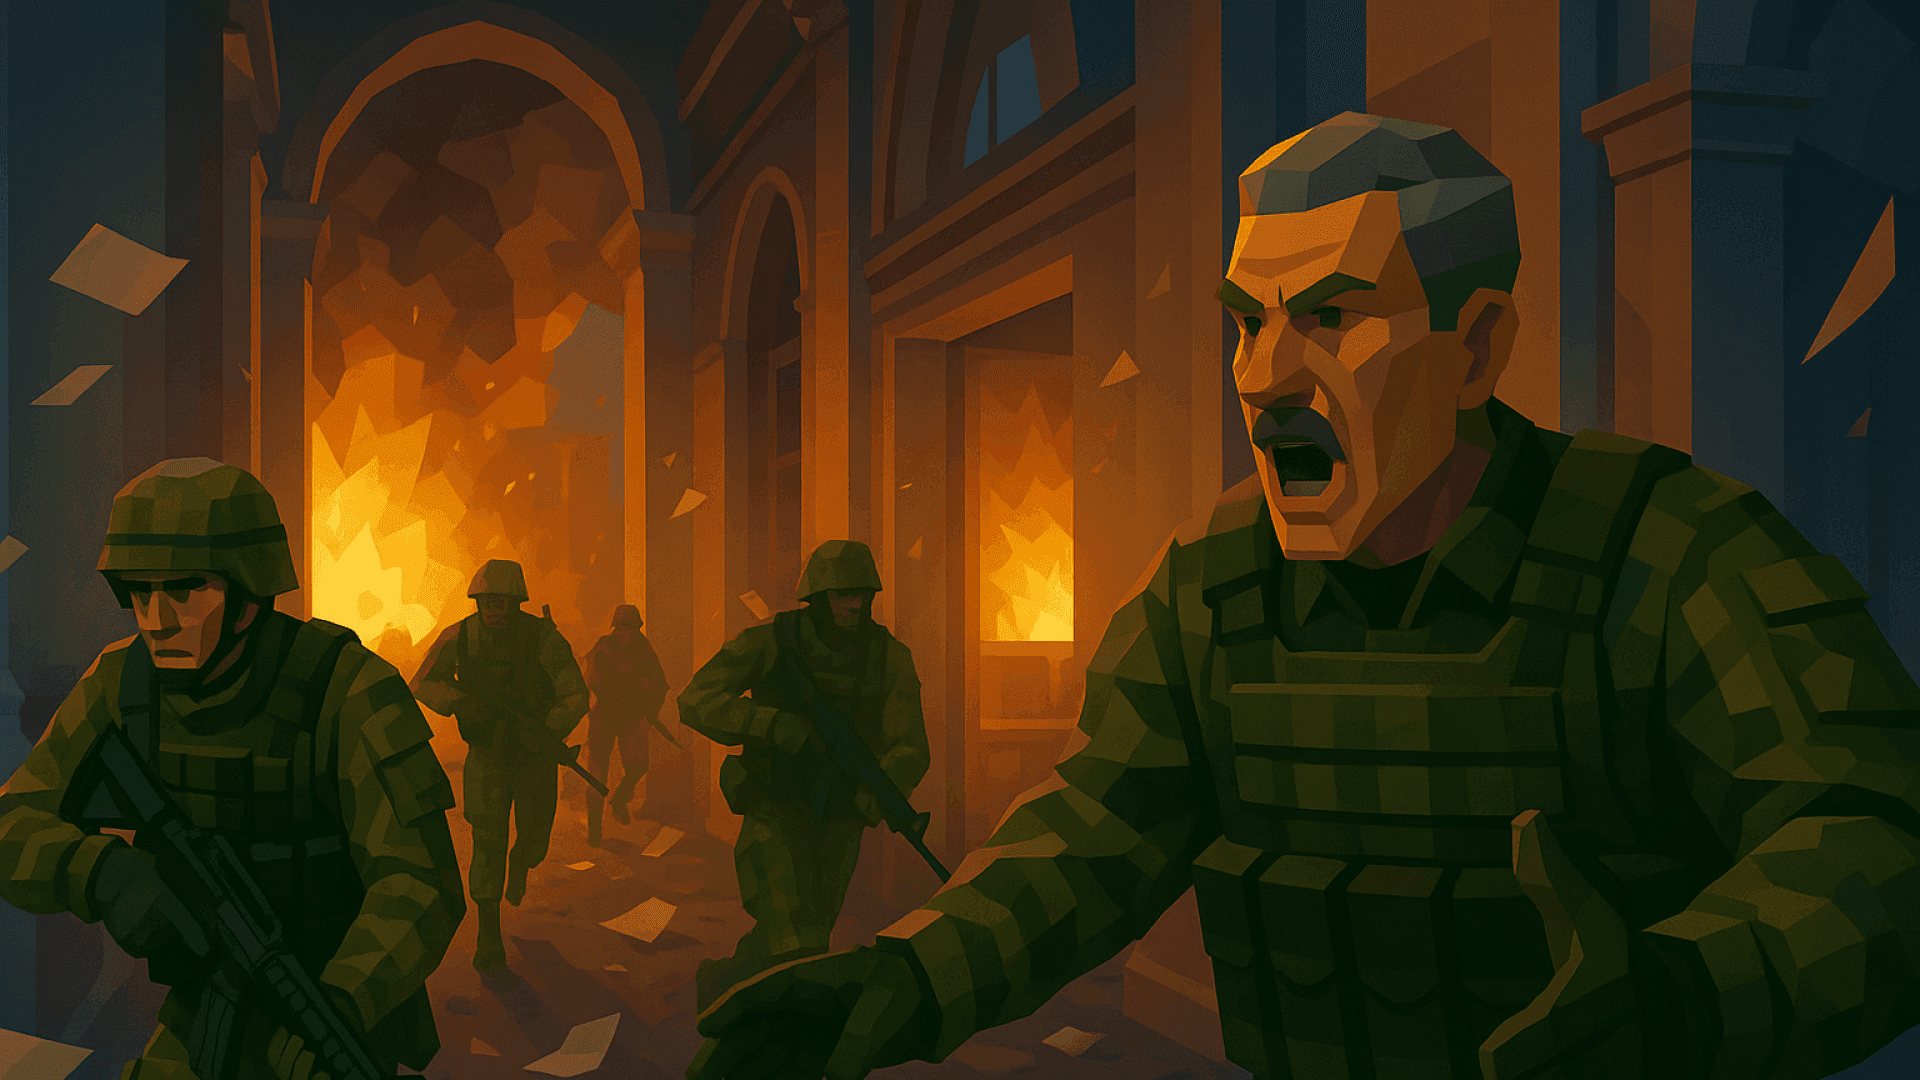 Odesa PortMap guide
 Tags scatter through the container yard; the maze makes every confirm a risk.
Slow, brutal container fights where denying tags matters as much as scoring.
 Korean BorderMap guide
 Tags drop across the DMZ and tunnel mouths — confirming in the open is a gamble.
Fights stall over contested tags at the tunnel entrances.
Ask an operator
Mara Okonkwo runs Kill Confirmed. Ask how to play it, what to watch for, or how to win.